
Key Takeaways
- Pi 5 has improved I/O speed, enhancing performance and making it great for beginner-friendly projects.
- Pi 5 can be transformed into a retro console for a smooth gaming experience.
- Pi 5 serves as a cheap desktop PC and a versatile network storage solution.
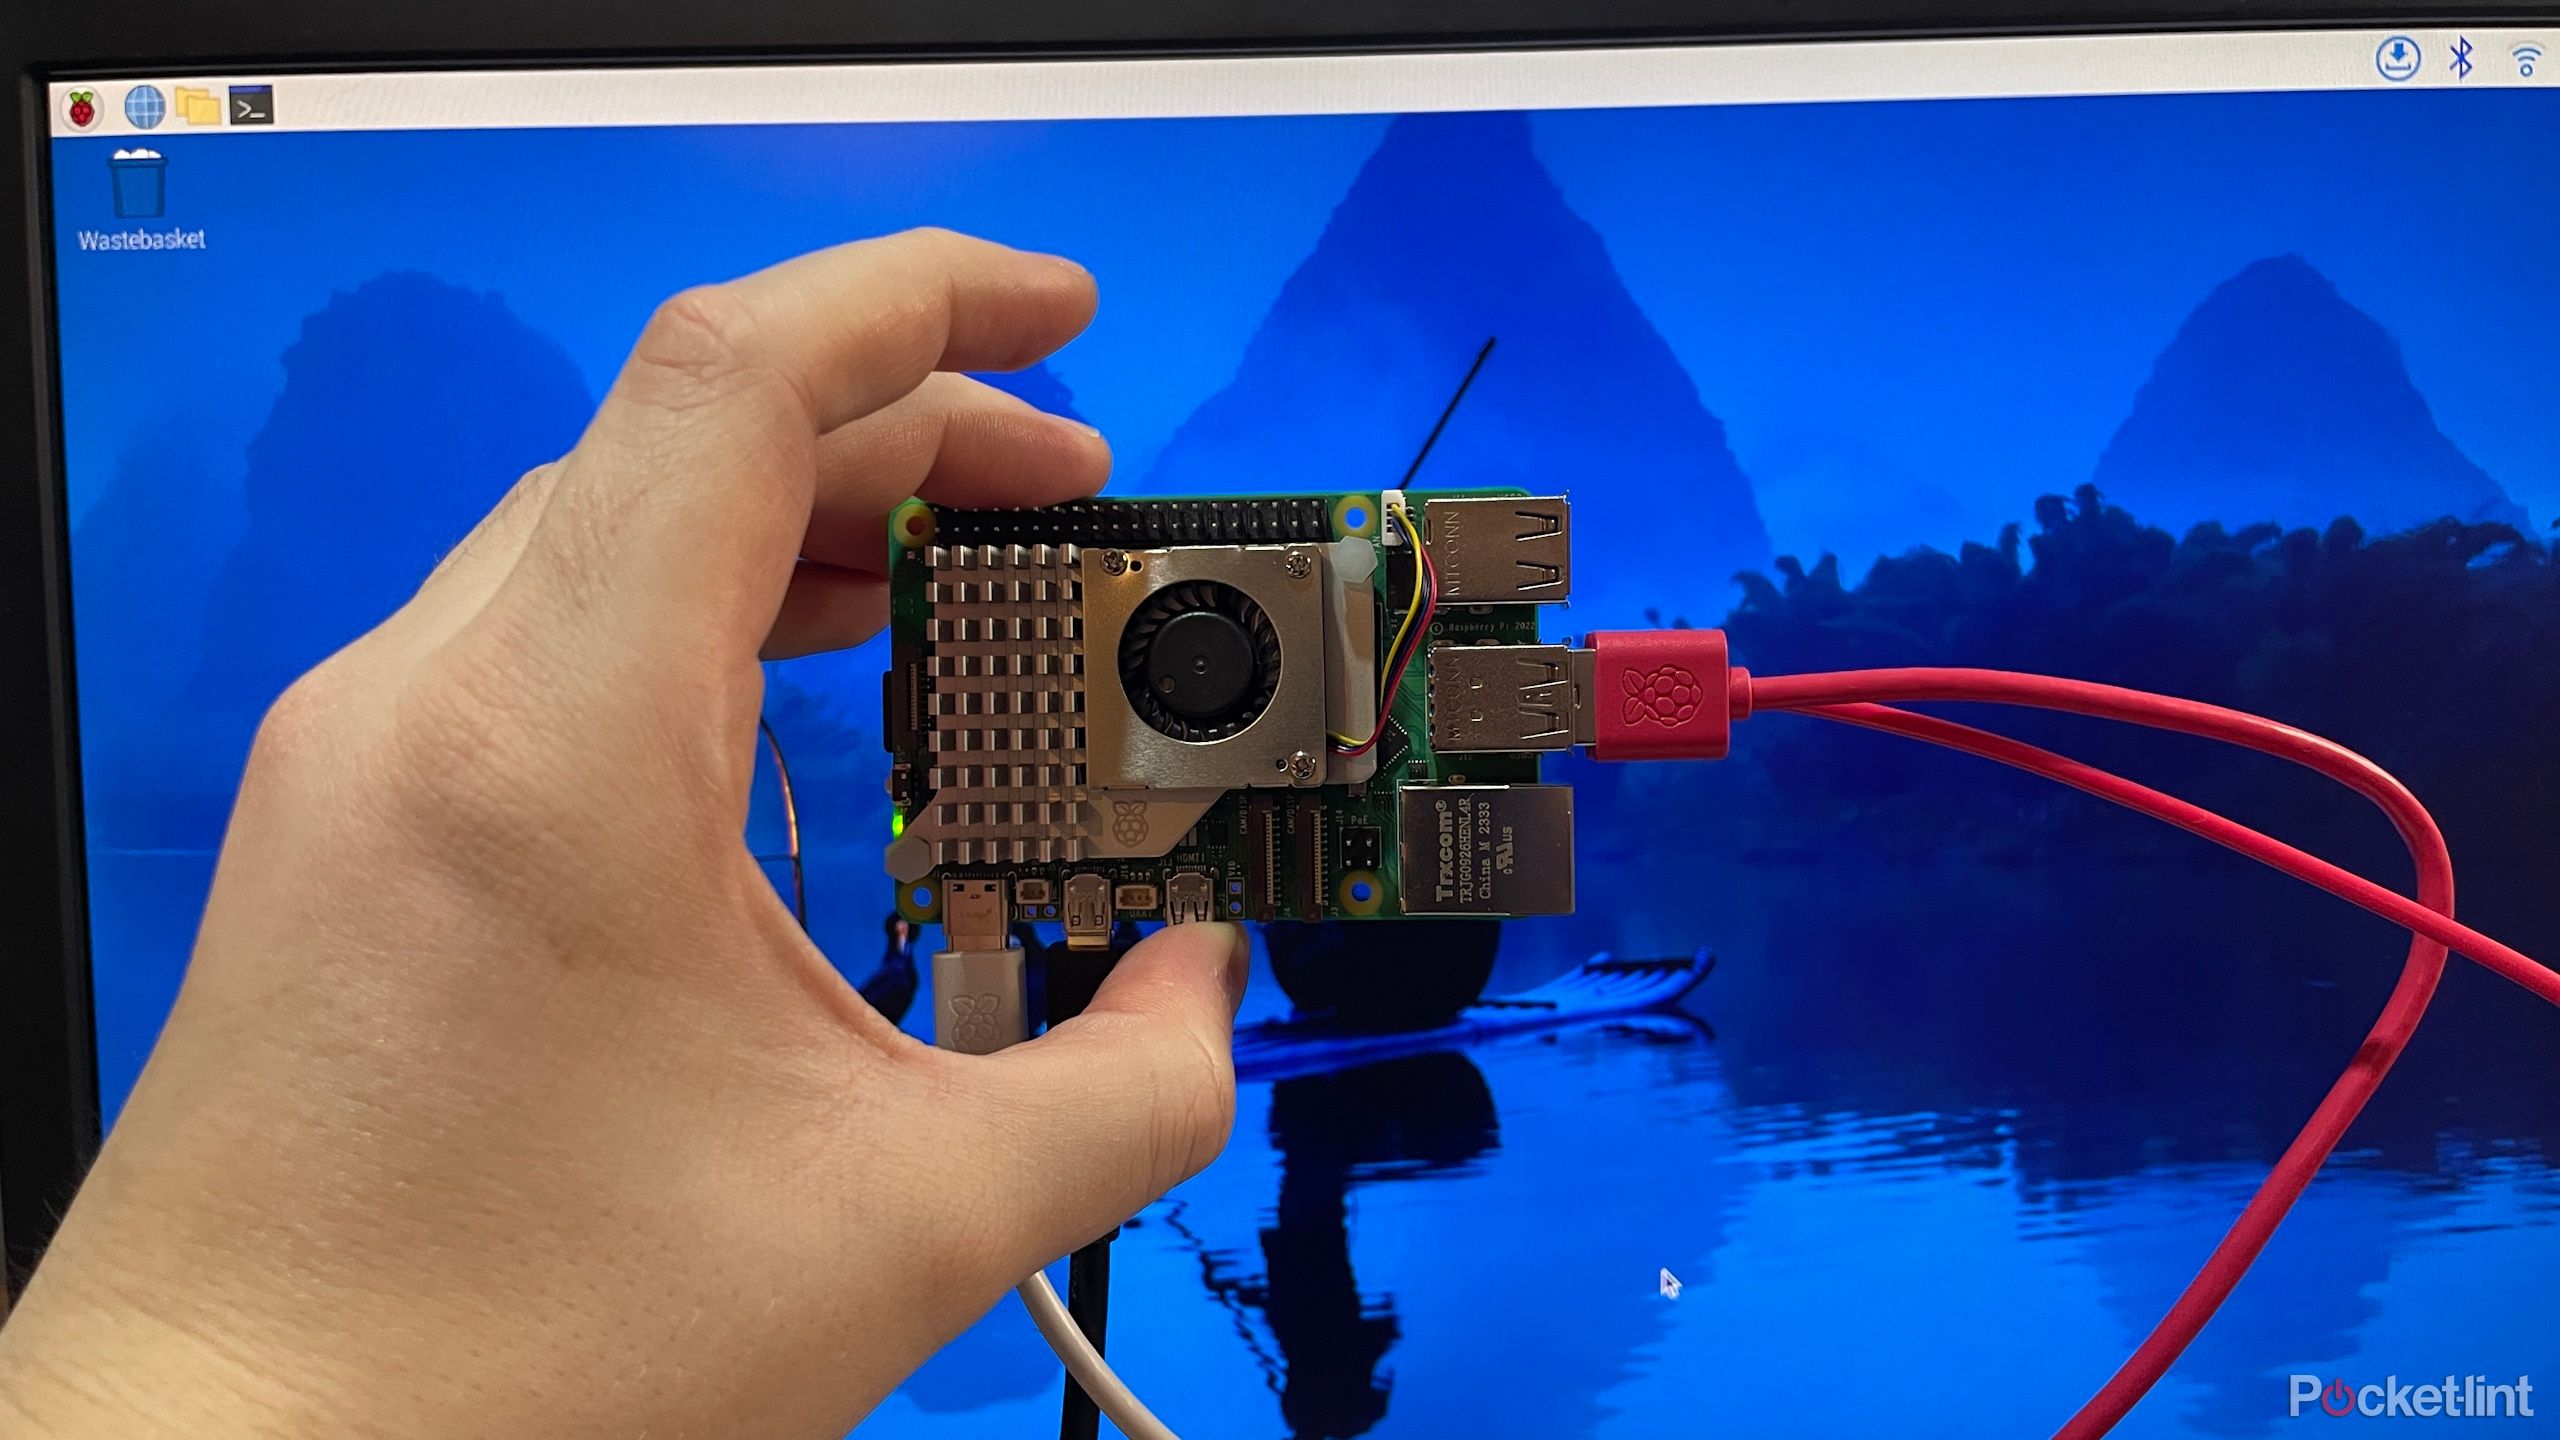
The latest Raspberry Pi — the Raspberry Pi 5 — is the best Pi yet. It’s faster in more than one way than its predecessor, landing itself to exciting new projects for techies and tinkerers everywhere. The Pi 5 is Raspberry Pi’s latest low-cost SBC (single board computer) offering, and its improved hardware opens up a whole range of possible use cases that might have been out of reach of previous Raspberry Pis.
What’s particularly great about the Raspberry Pi 5 is its improved I/O speed — i.e., its USB and MicroSD speed — which really improves the Pi 5’s performance in some beginner-friendly Raspberry Pi projects. Projects that nearly anyone can do, even if the Pi 5 is your first Raspberry Pi.
Best Raspberry Pi: Find the perfect fit for your next DIY project or mini PC
The Raspberry Pi goes from desktop replacement to DIY playground. Here are our top picks.
And if it’s a beginner-friendly project you’re looking for, you’re in luck — there’s plenty to do with a Raspberry Pi, and some of it is quite simple. Here are five of our favorite ways to use the Raspberry Pi 5.
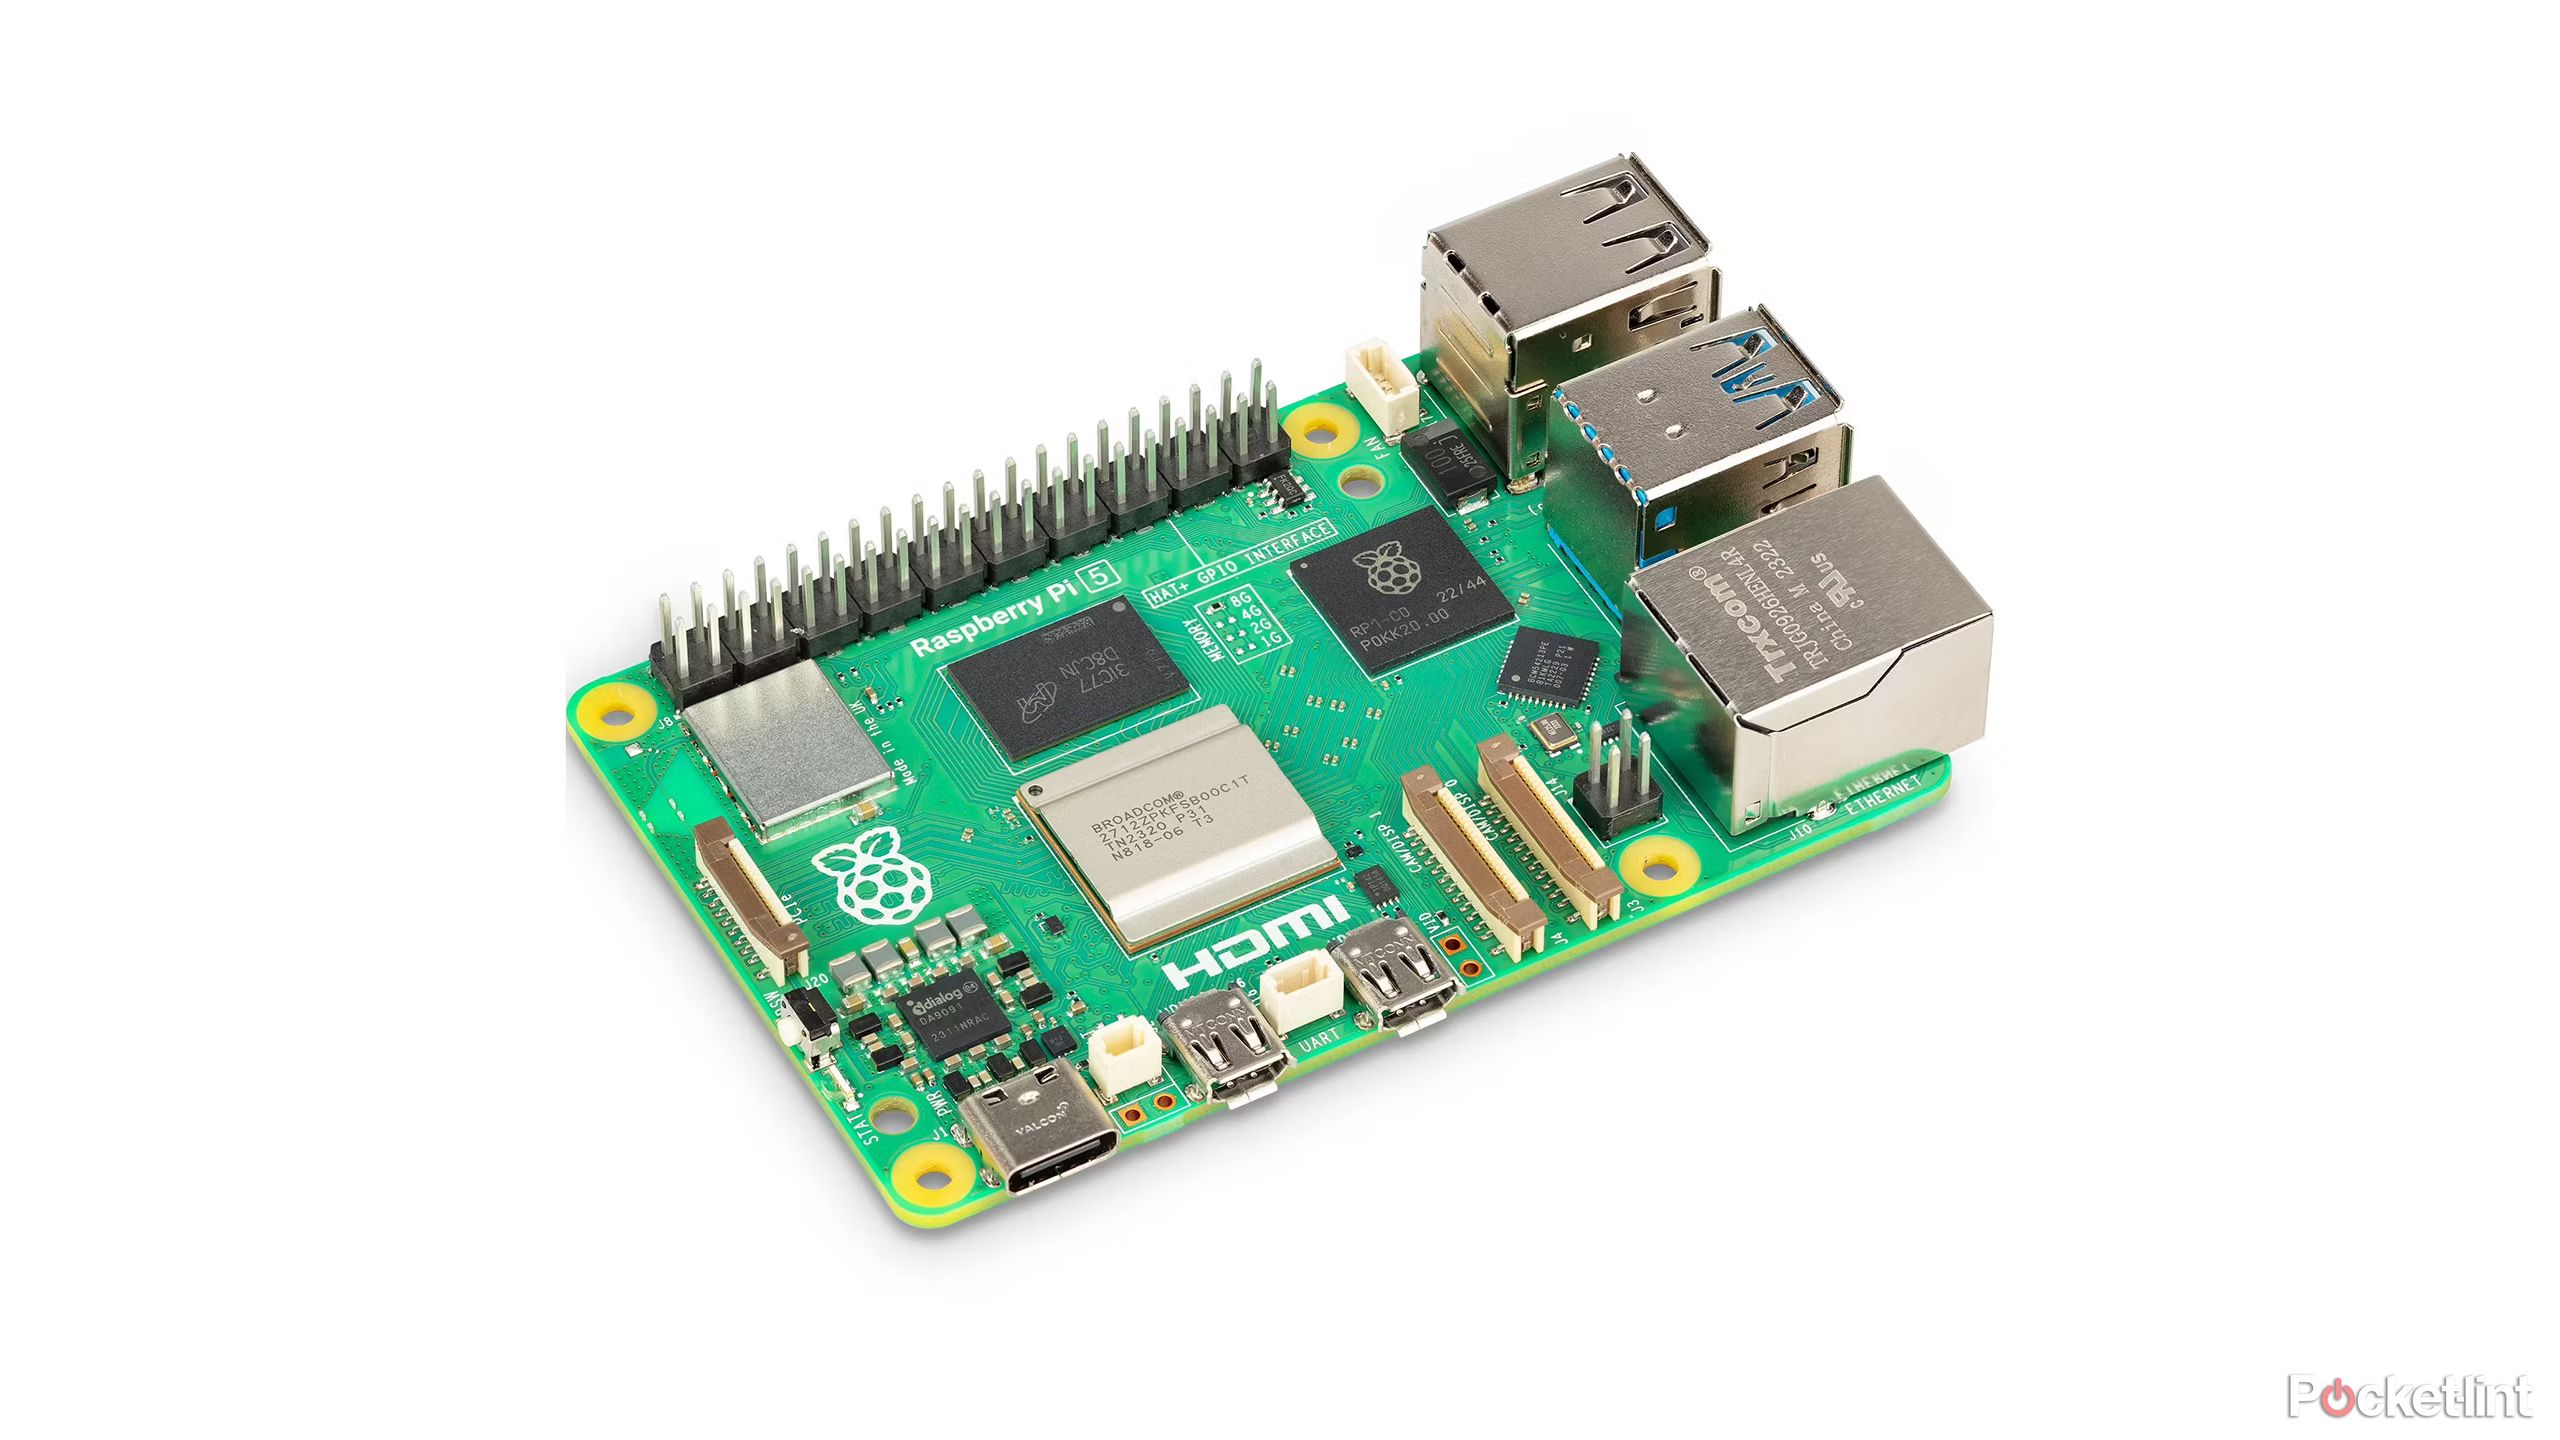
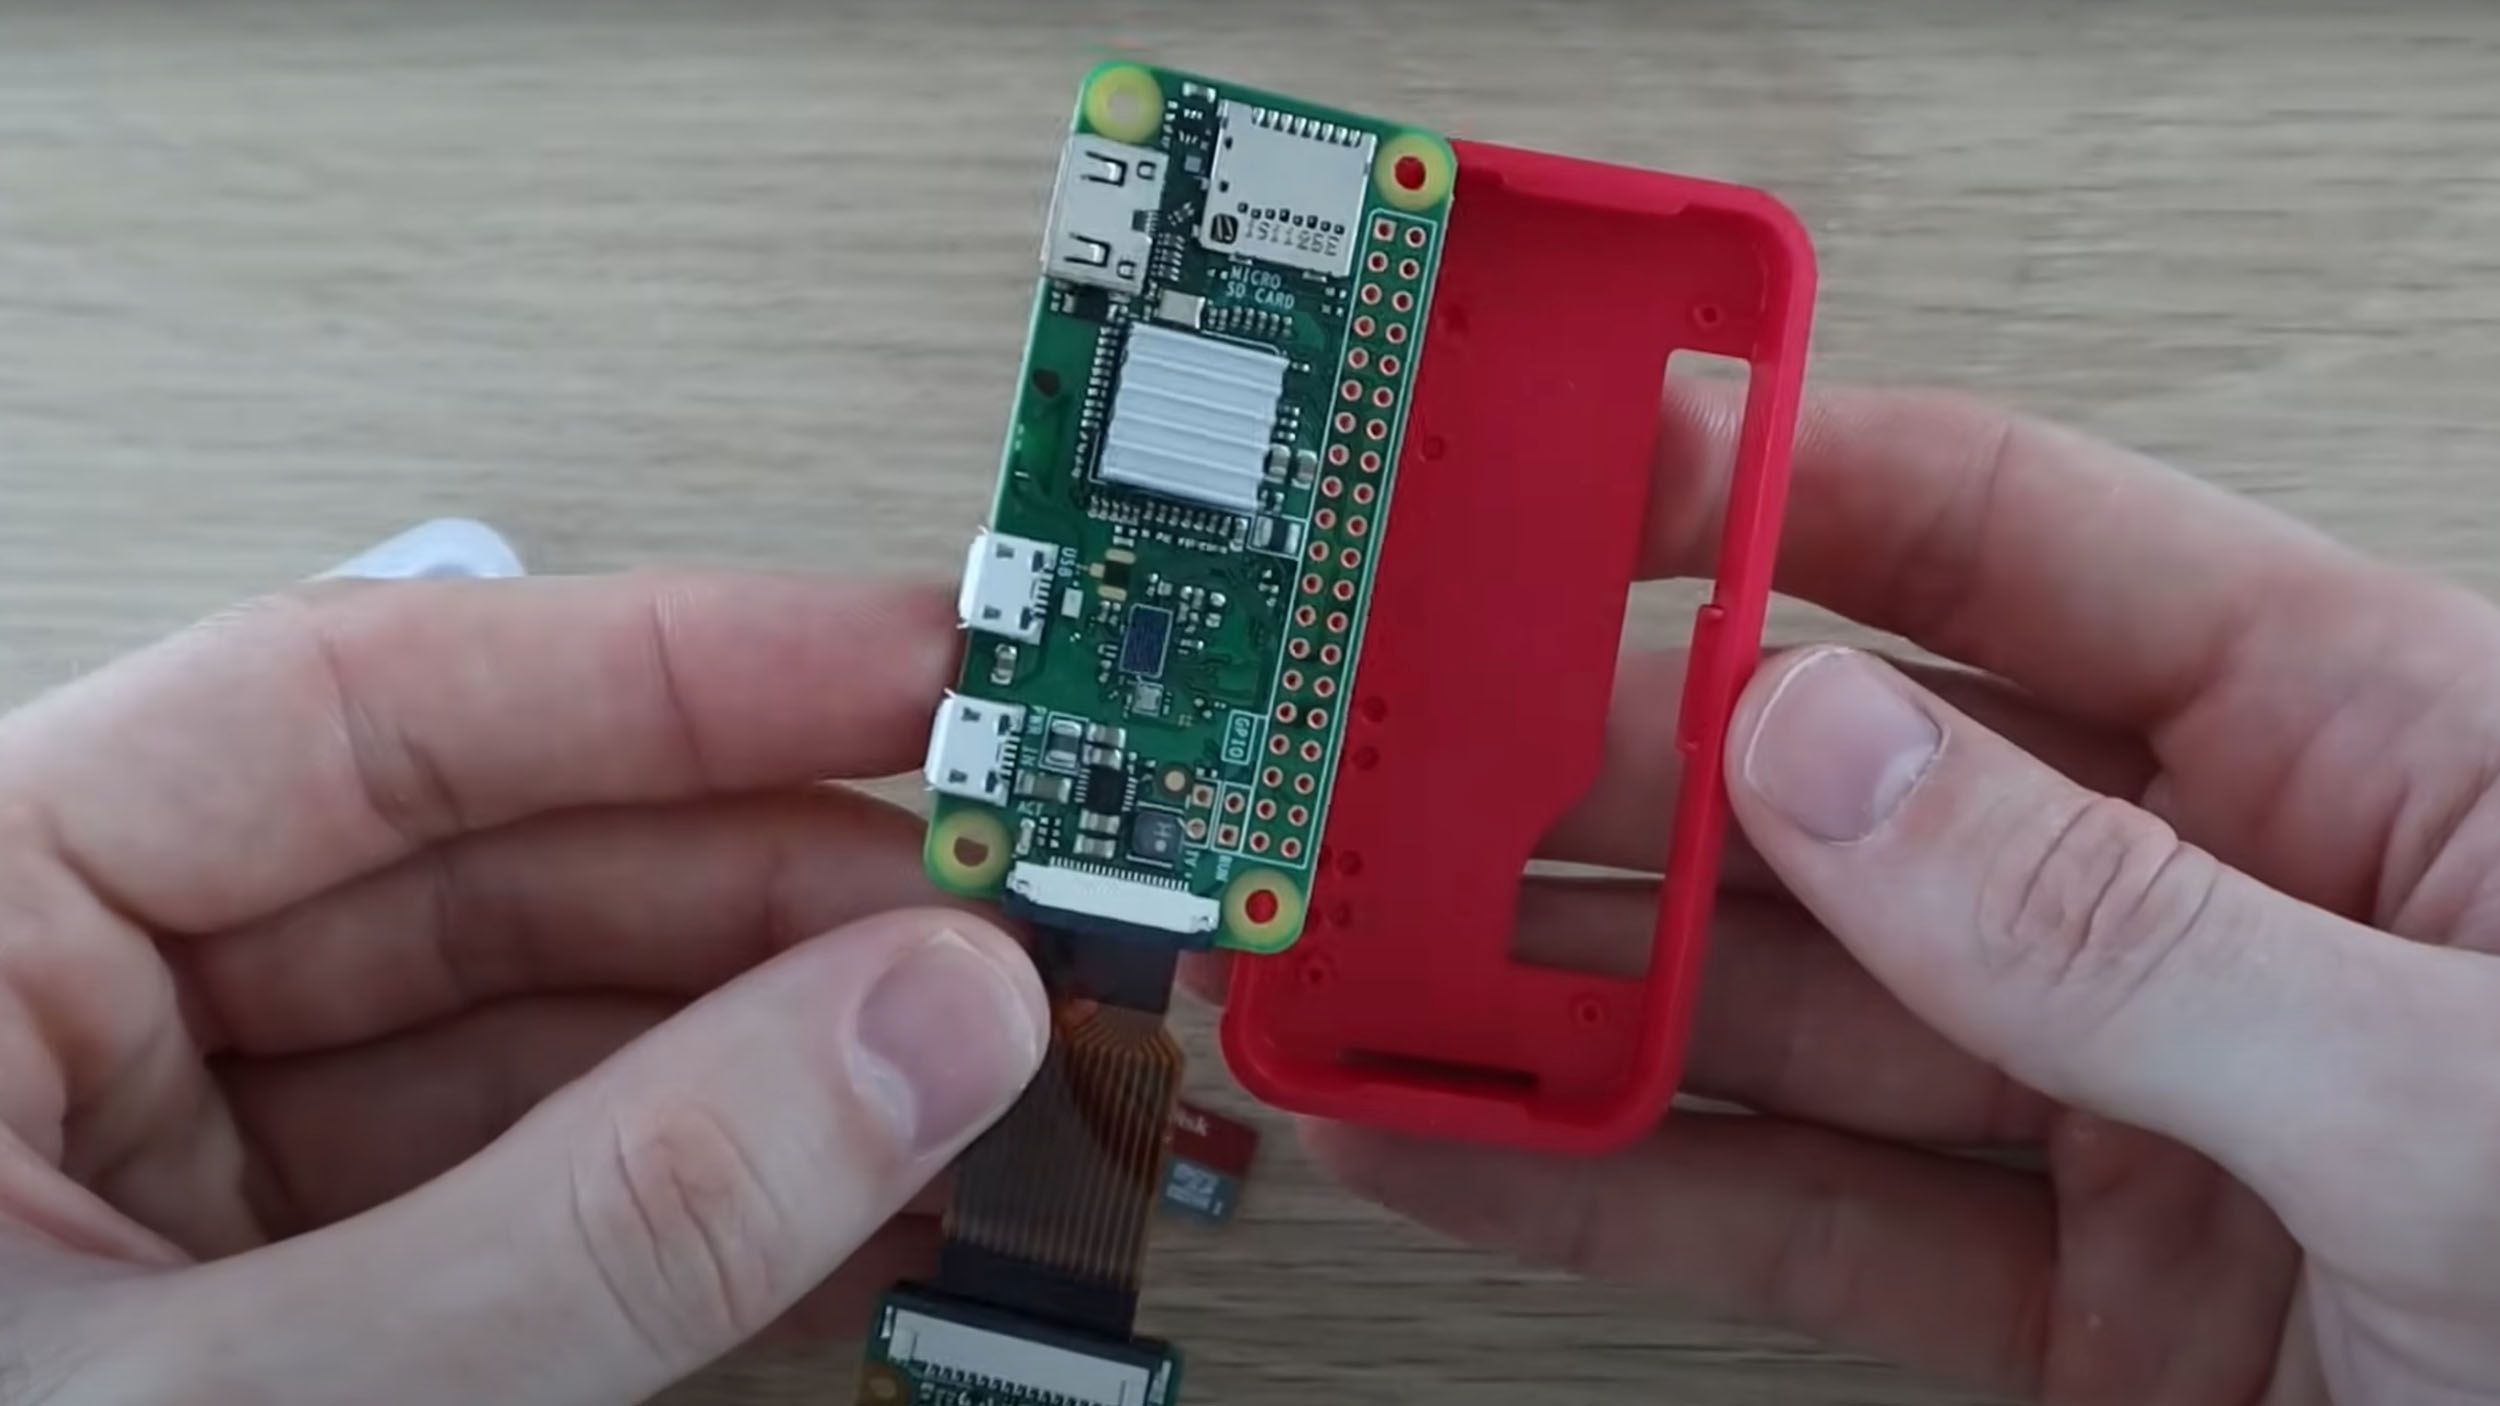
Raspberry Pi 5
Raspberry Pi 5 comes with new features. It’s over twice as fast as its predecessor, and i’’s the first Raspberry Pi computer to feature in-house silicon.
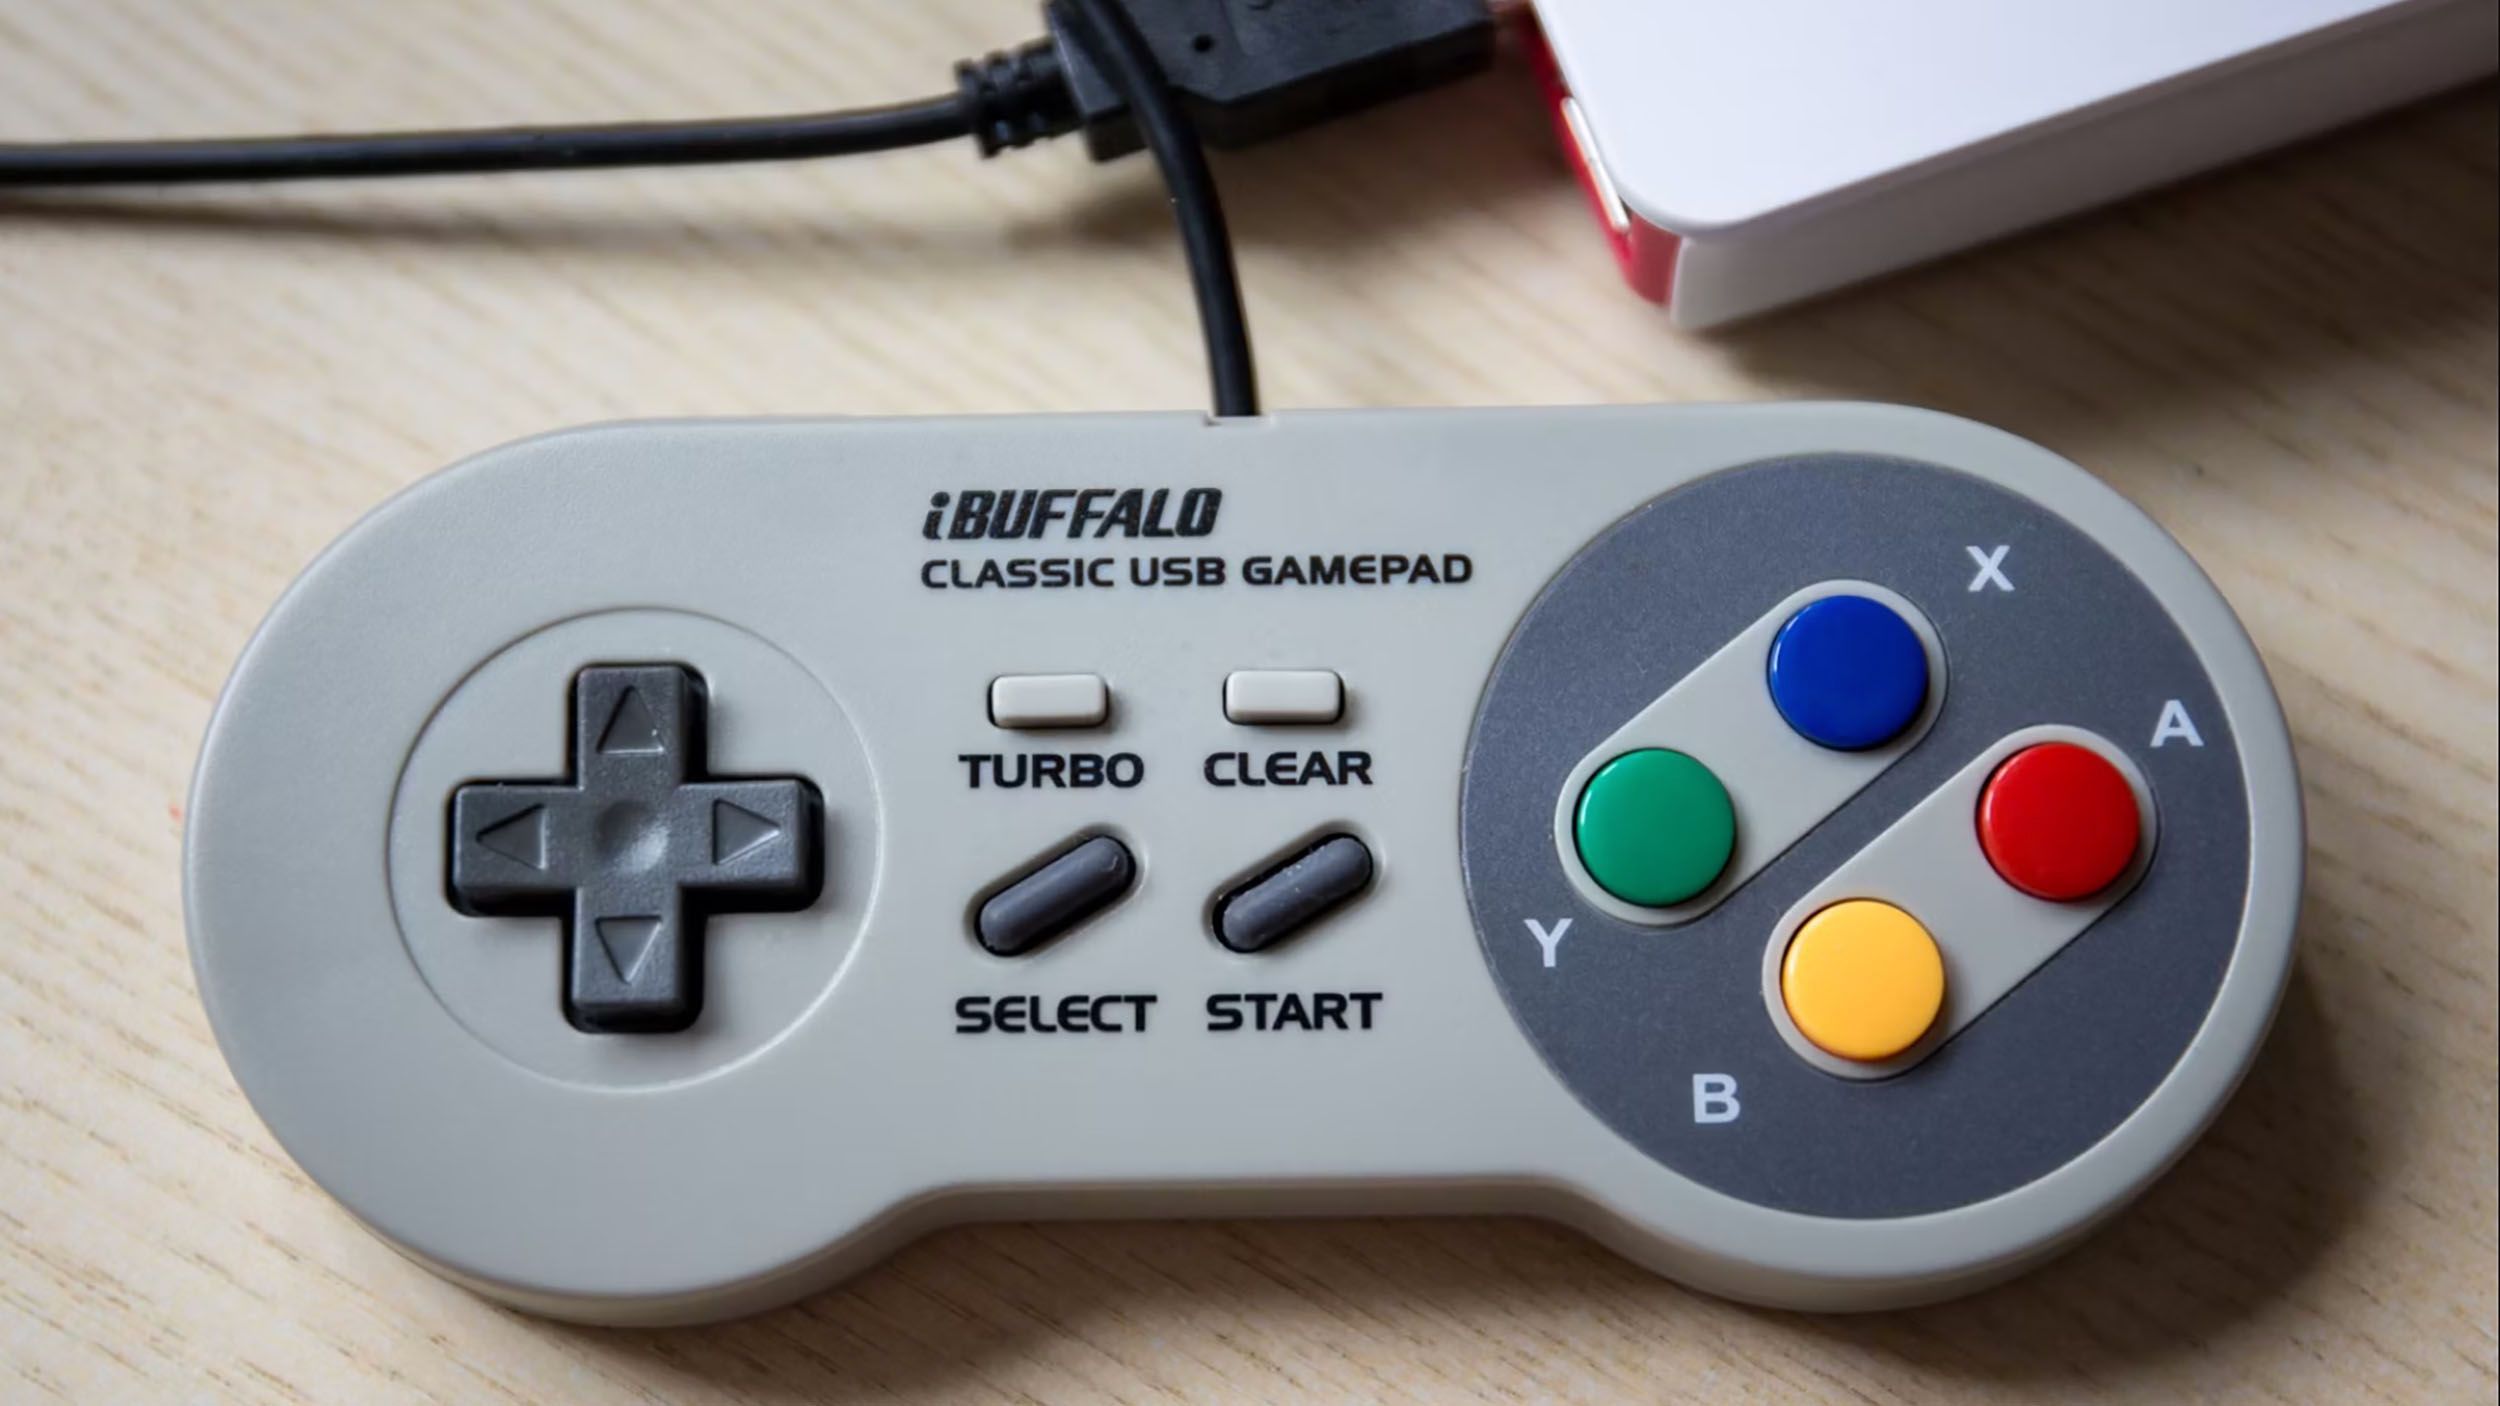
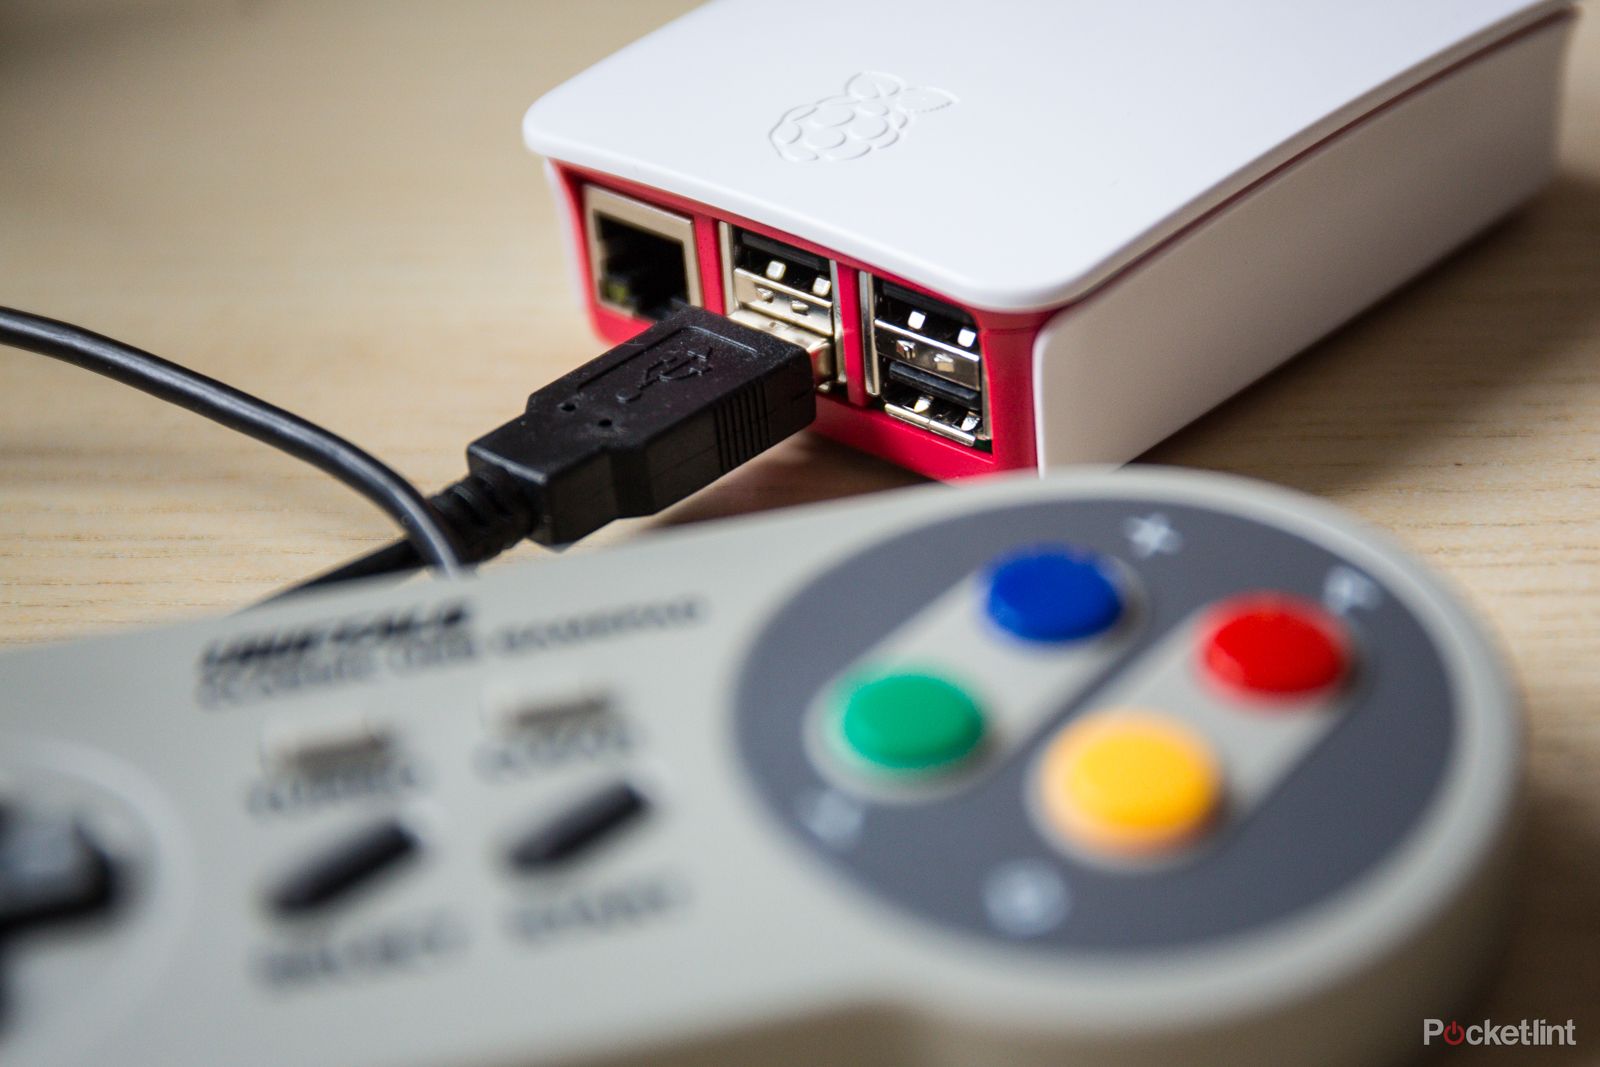
1 Turn your Pi 5 into a retro console
Emulate different retro games consoles
Pocket-lint
One of the most fun uses for a Raspberry Pi is to turn it into a retro games console, and the Raspberry Pi 5 is no exception. In fact, its upgraded hardware (which Raspberry Pi claims is “over twice as fast as its predecessor”) should make for a much smoother gaming experience compared to previous Raspberry Pis.
What’s great about using a Raspberry Pi for retro gaming rather than buying retro consoles is that you can emulate lots of different old-school consoles on the same device. All you have to do is get it set up using the correct software and load up some game ROMs.
The most popular Raspberry Pi retro gaming operating systems are Retropie and Recalbox, but the latter is a better bet for the Raspberry Pi 5, at least for now. Judging by user comments online, while Retropie should have full support eventually, Recalbox has fewer issues with the Pi 5 right now. Retropie is also a little more complicated to get up and running than Recalbox.
How to build your own retro games console for around $50
Love retro gaming but think the “mini” consoles are too limited? Here is our step-by-step guide on how to build your own multipurpose retro console.
Stream images, videos, and music across your network
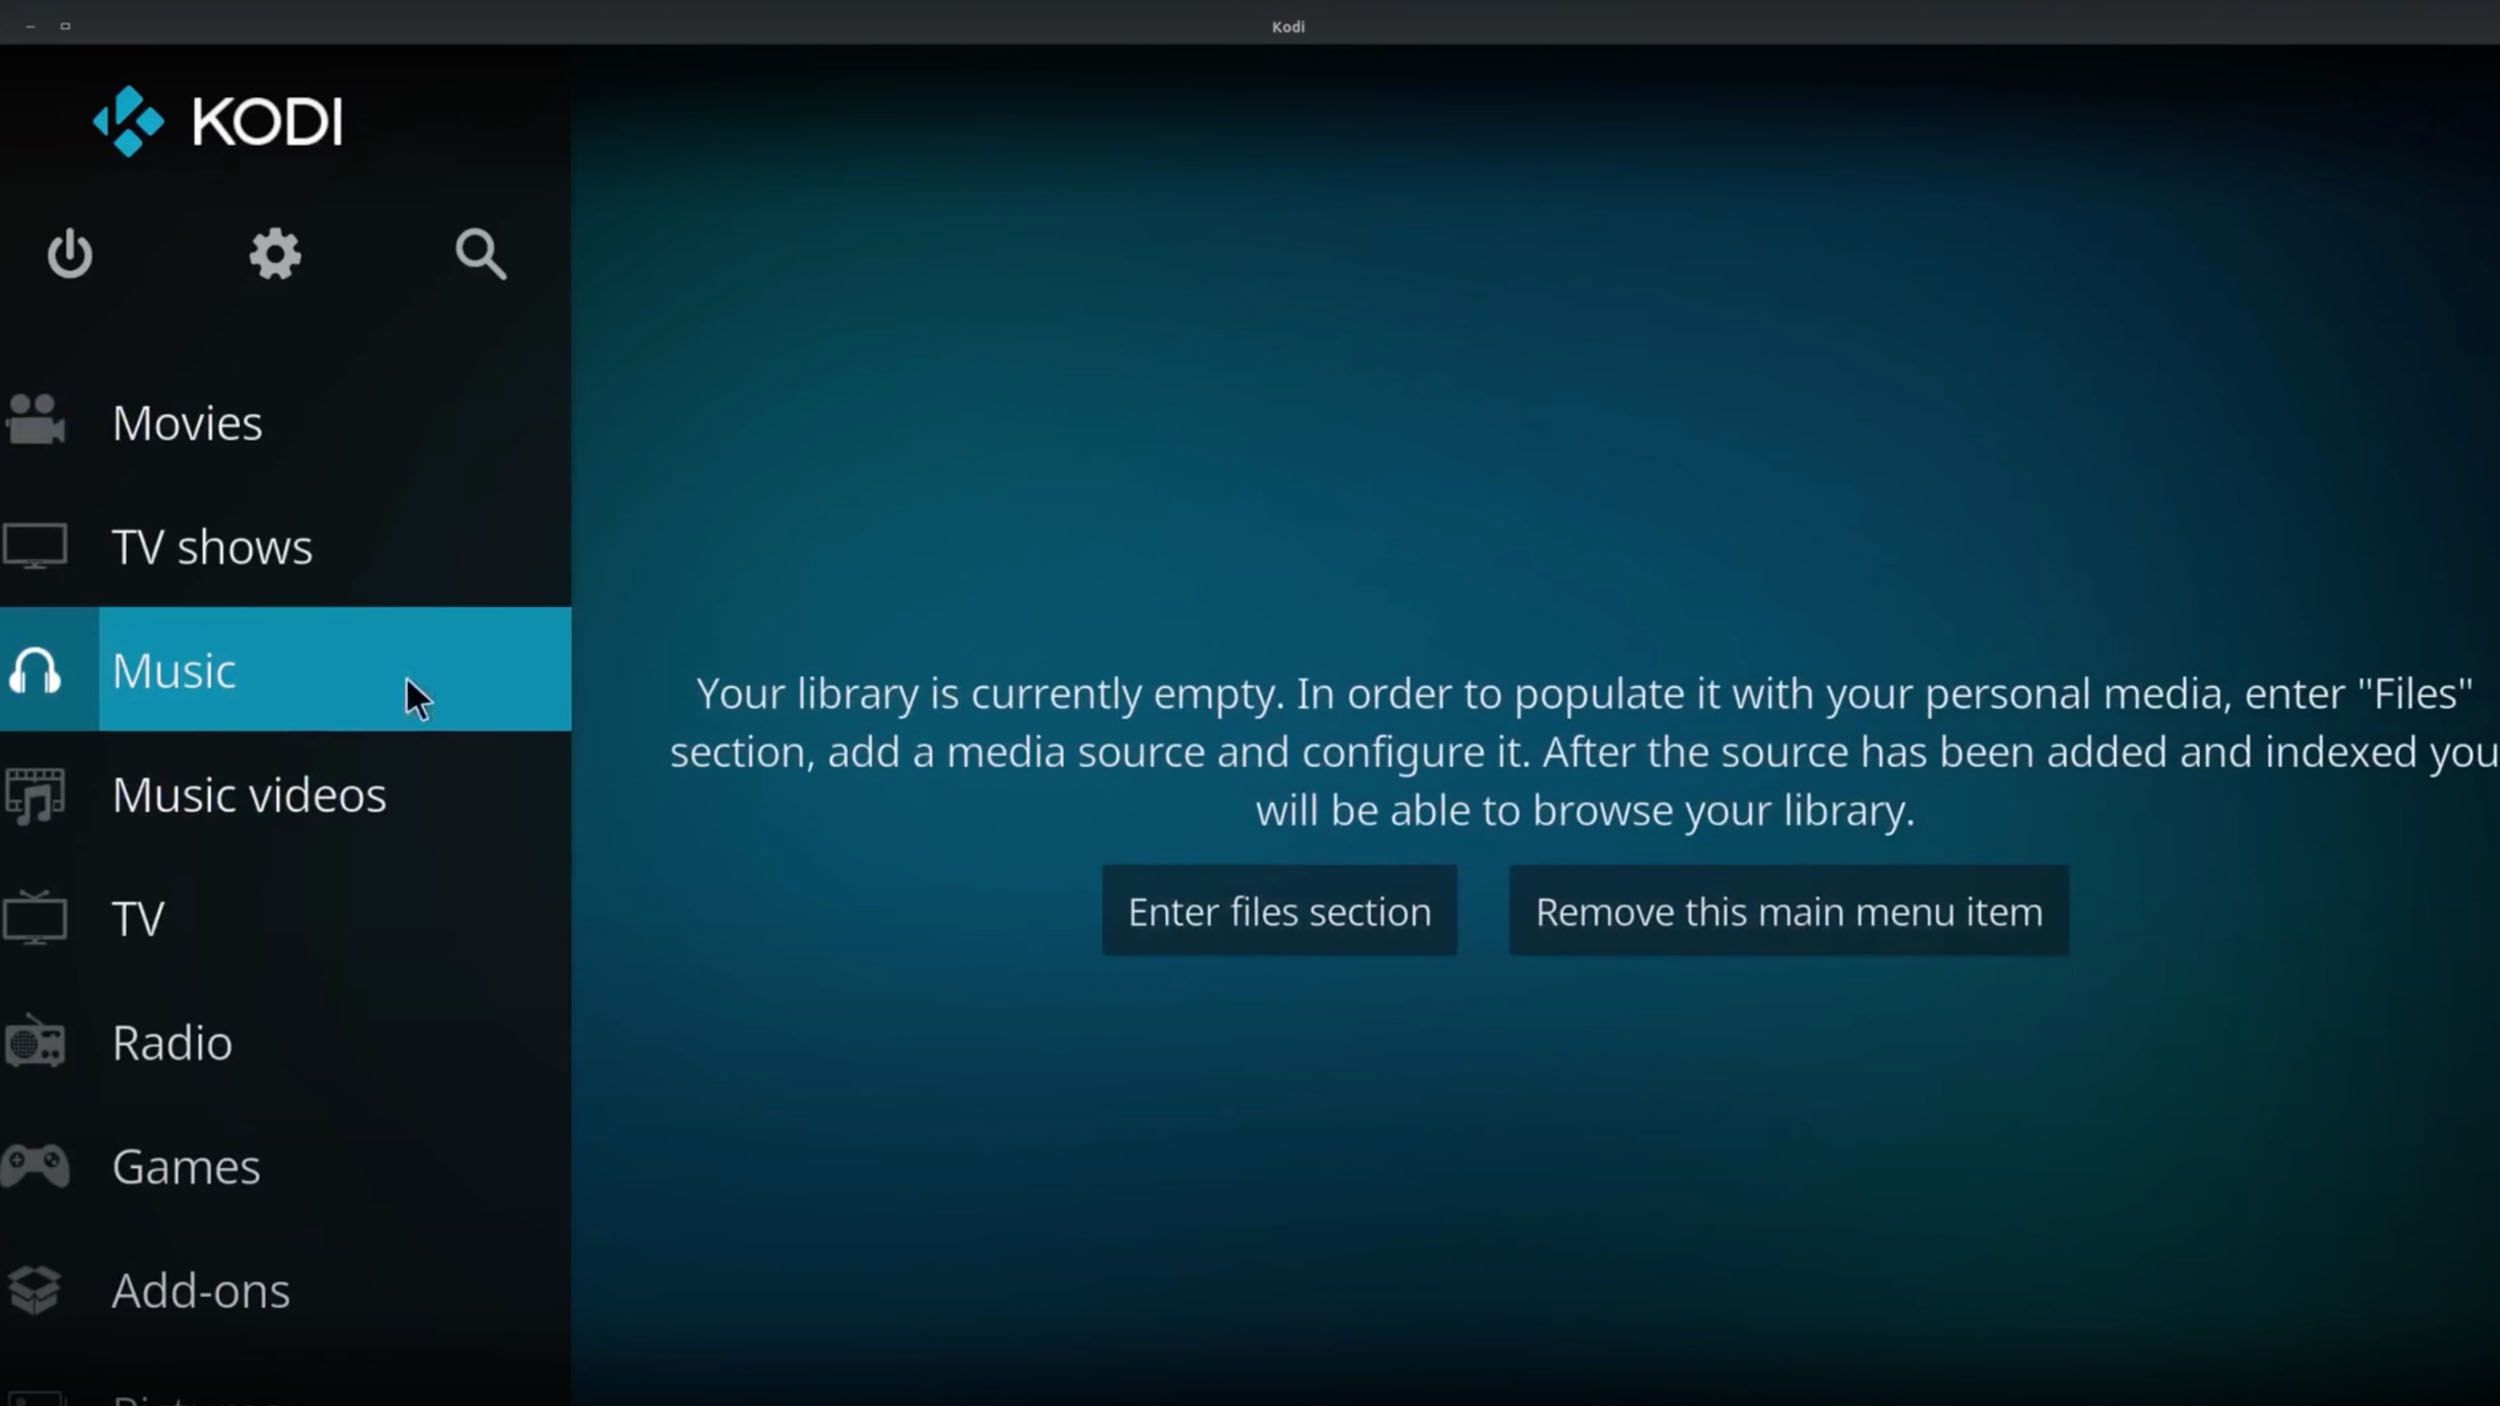
@TechforThought
Many of us stream our media using services such as Netflix or Amazon Prime Video, but it can sometimes be nice to have access to our own movies, TV shows, and music without paying a subscription and relying on a third party. This is where home media centers and media servers come in, and the Raspberry Pi 5 is ideal for just such a setup.
By setting up your Raspberry Pi 5 with software such as Kodi on an operating system such as LibreELEC, you can not only get up and running streaming media from the usual third-party apps (i.e., turn it into some kind of Smart TV device), but you can also store your own videos, images, and audio for instant playback, just like you would on a PC, but with a Smart TV-esque media center layout.
This isn’t all, though, because if you enable UPnP in Kodi, the Pi 5’s media can be accessed from any other device on the network. So you could, for example, have your Raspberry Pi 5 hidden away in your cupboard, store all your media, and then stream that media to your phone and cast it to your TV for quick and easy home media server streaming.

3 Use your Pi 5 as a cheap desktop PC
Learn programming, poke around Linux, or do productivity tasks
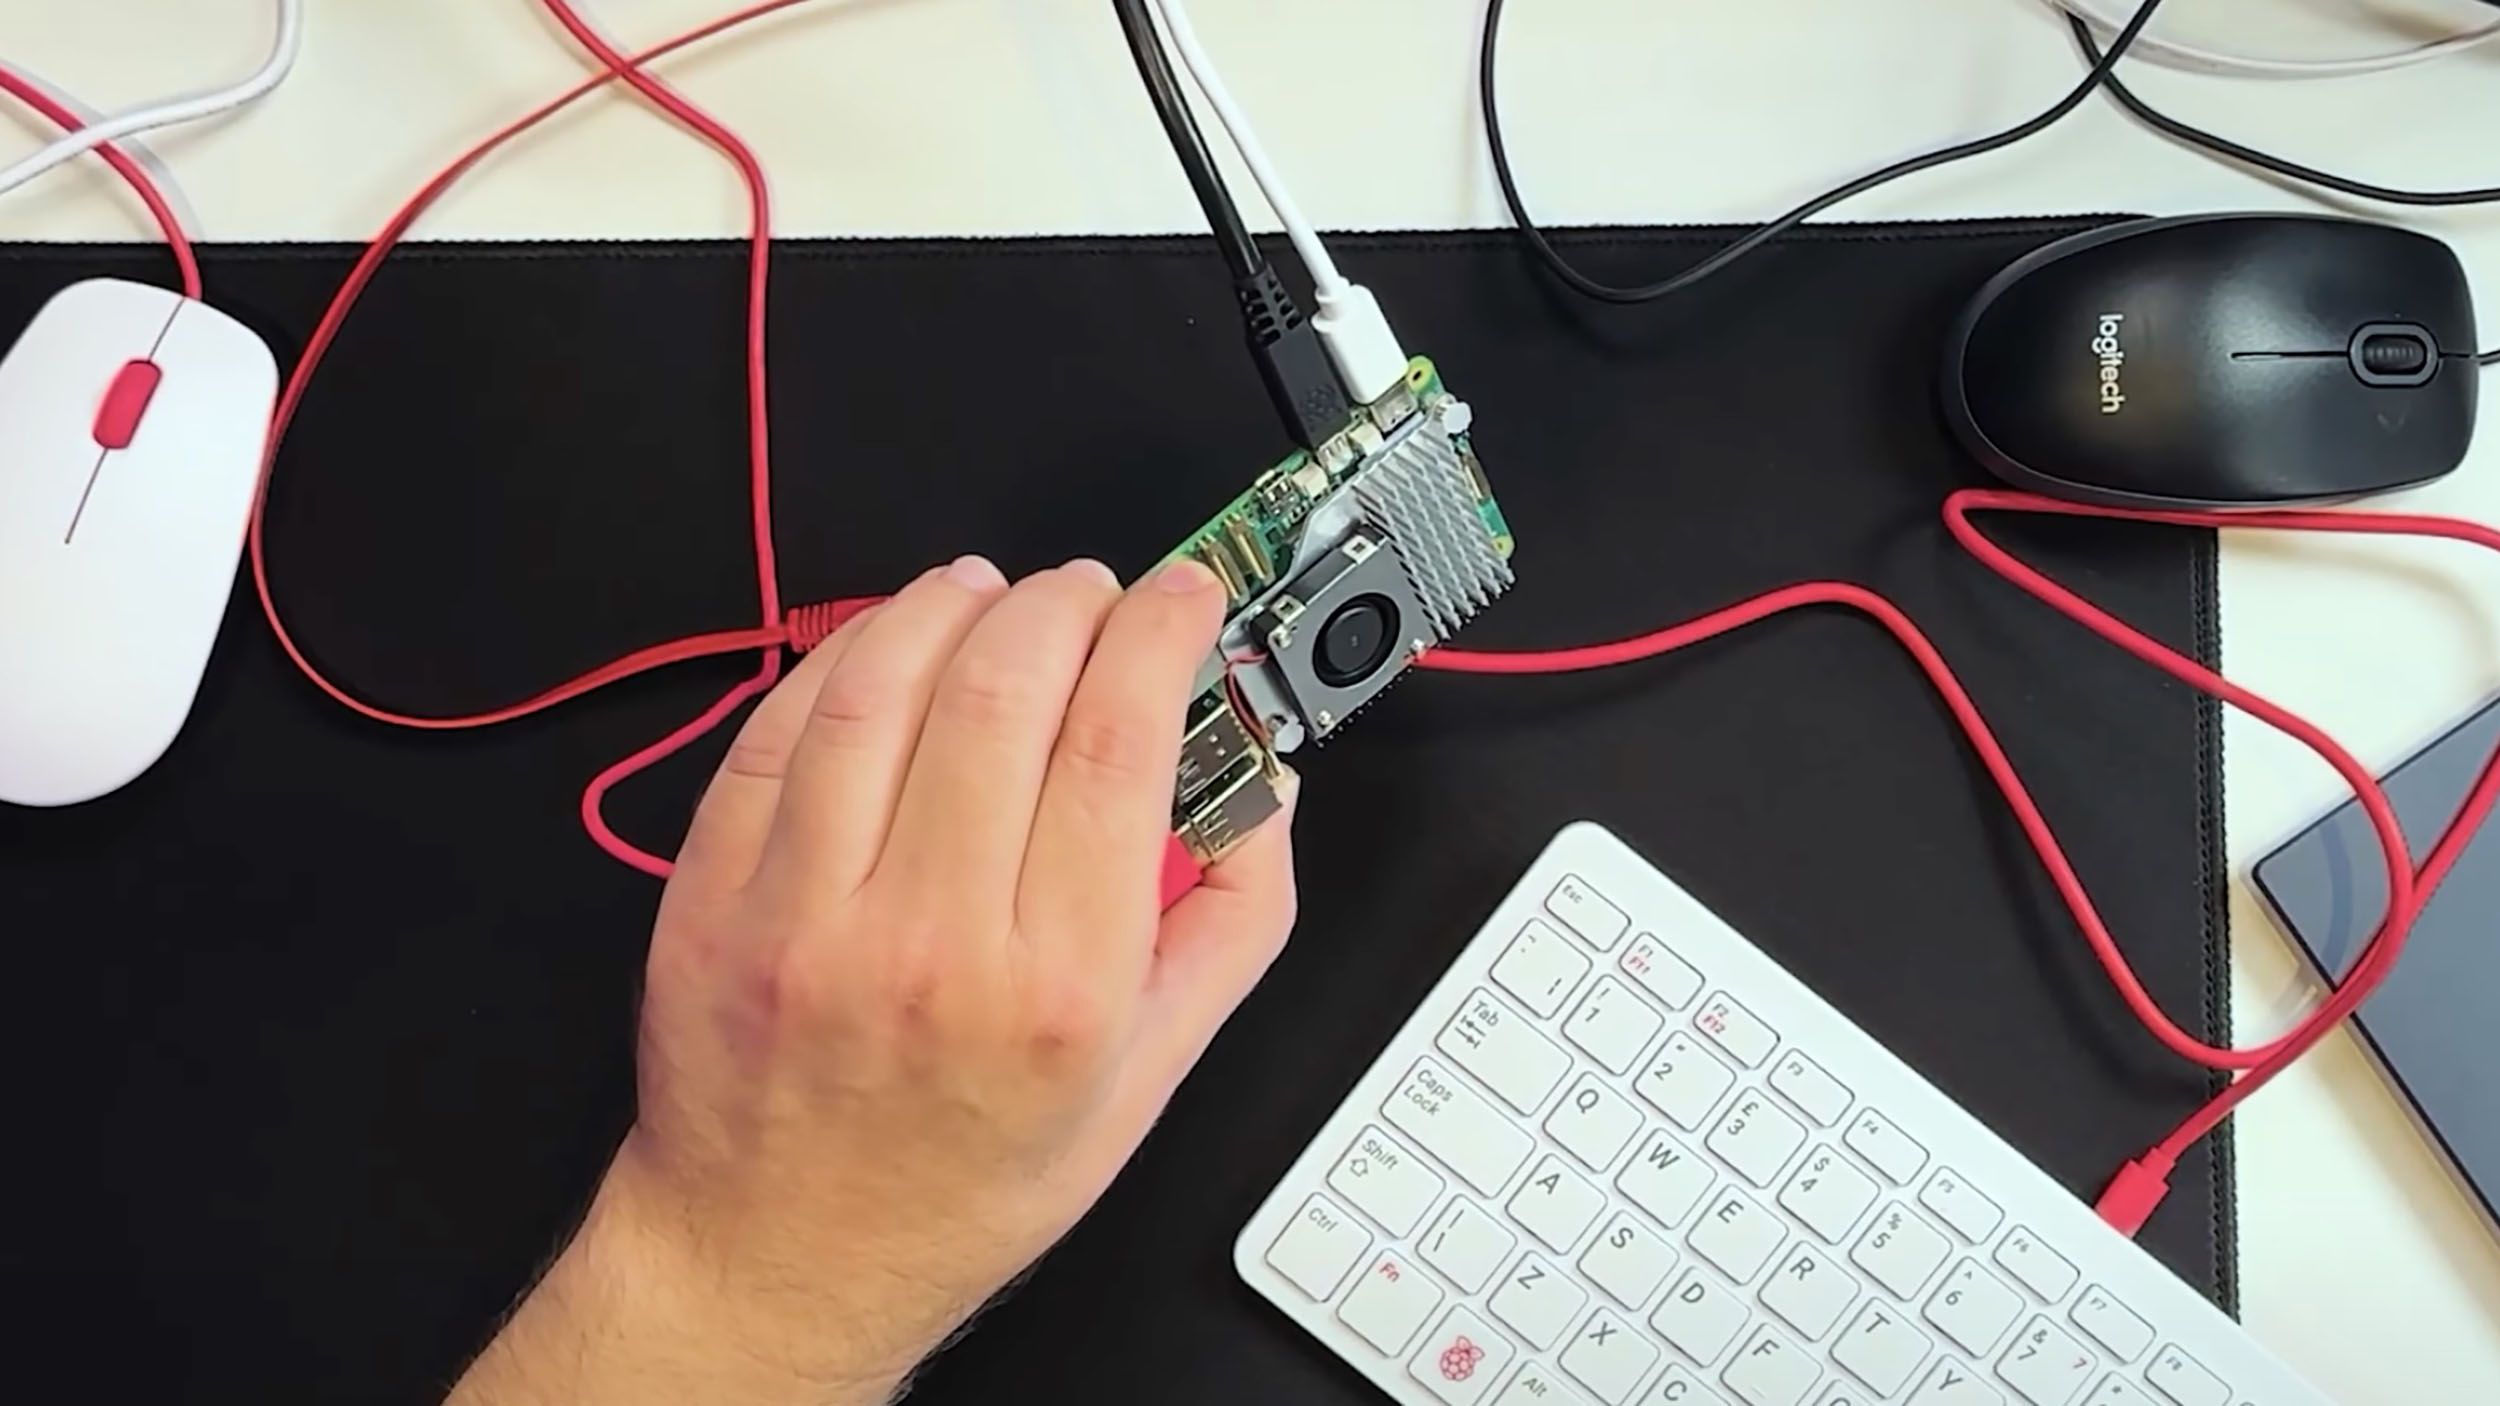
David Bombal Tech
The Raspberry Pi 5 possibly marks the first time a Raspberry Pi has been very viable as a cheap, fully-fledged desktop PC. This is because its SoC (system-on-chip) has been significantly upgraded, and its I/O speeds have been greatly improved. It also has an external PCIe (2.0) port, which means you can run your operating system from a fast external NVMe SSD.
While ARM64-supported, Debian-based Linux operating systems should install on the Raspberry Pi 5 without problems, unfortunately, Windows on R (WOR) doesn’t seem to be working with it just yet — but watch this space.
If, instead, you want to stick with booting from an SD card, you could install a few different operating systems on different SD cards and take your pick each time you want to boot up — Ubuntu would be a good one to start with.
Or, you could stick with the default Raspberry Pi OS. This wouldn’t be a bad choice, either, because it’s now based on the latest Debian 12 “Bookworm” release, which is super snappy on the Pi 5’s hardware and comes with a range of fun and useful software. Whether you want to learn programming in Scratch or Python, learn the ins-and-outs of Linux operating systems, work in word editors or spreadsheets, or just browse the internet, Raspberry Pi’s OS should work a treat, especially on the Pi 5.
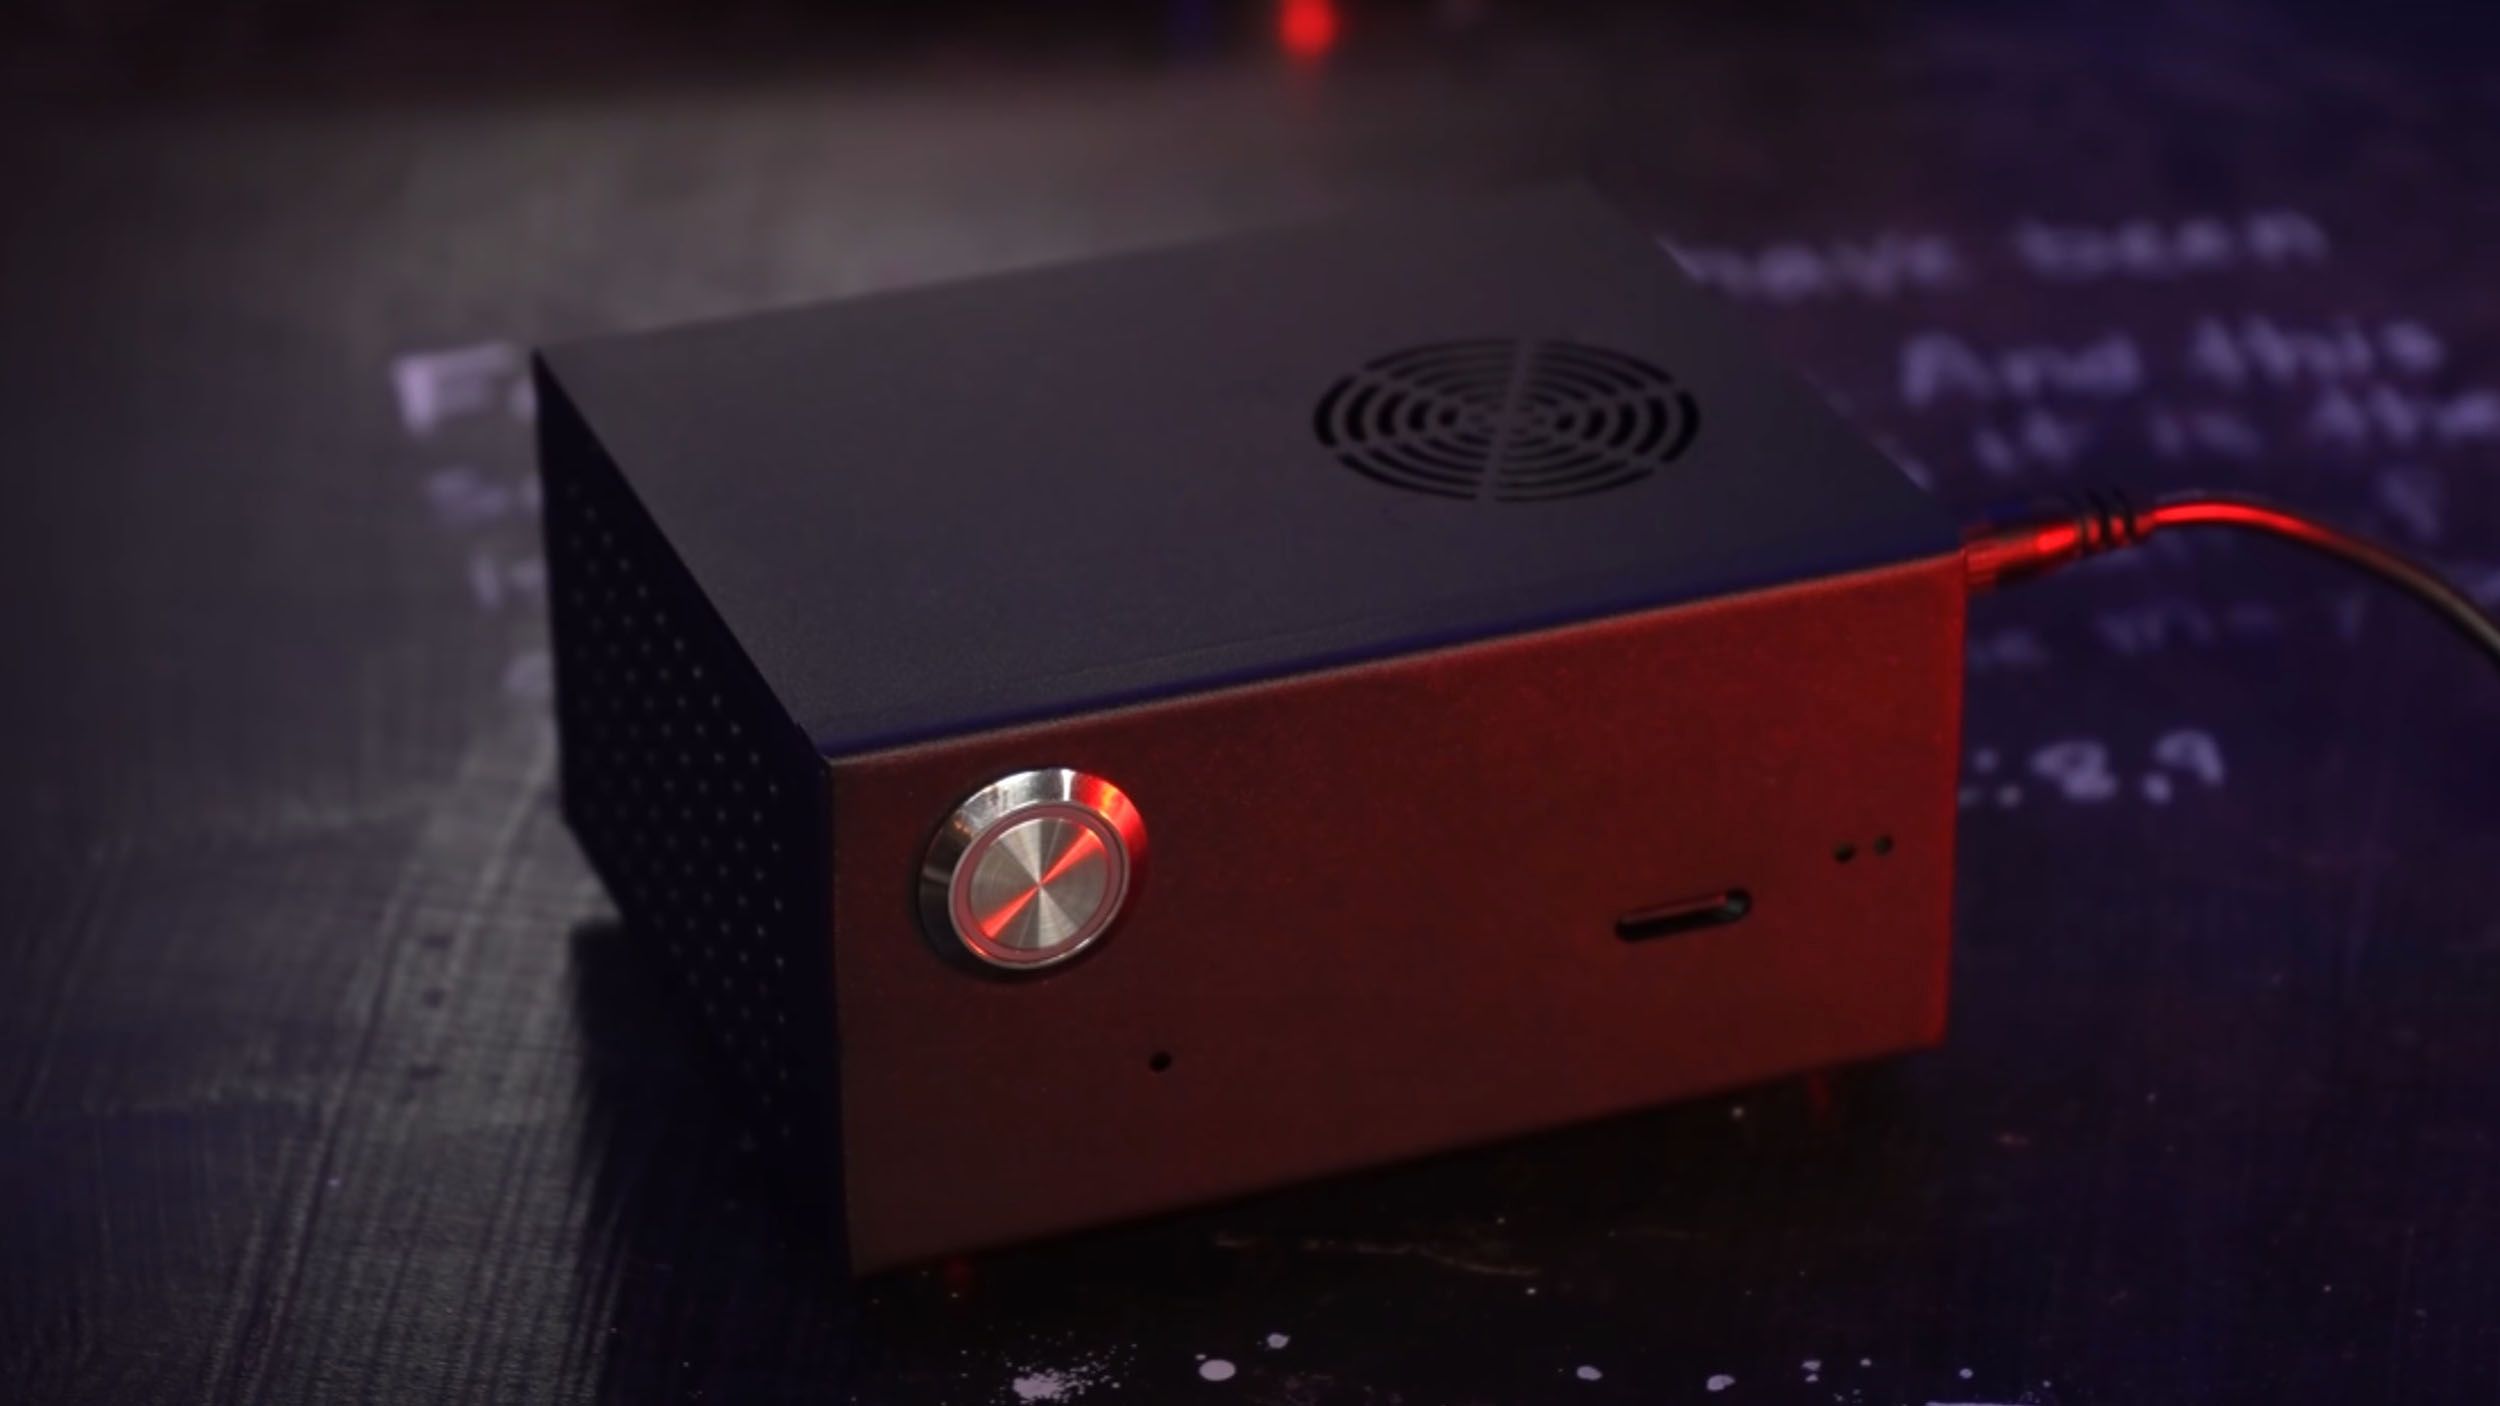
4 Turn your Pi 5 into a security camera
Keep your home safe without sending your data via a third-party company
@MichaelKlements
Some smart security cameras are great, but many of them either require routing via third-party company servers or are very expensive (or both). Thankfully, the Raspberry Pi 5 can be turned into a home security camera device that lets you access your camera from anywhere in the world.
Hardware-wise, it’s pretty simple to set up. Simply plug a camera — such as the Raspberry Pi Camera Module 3 — into one of the board’s MIPI connectors via a ribbon cable. From here, things can get a little more complicated, but there are plenty of guides online (such as this one, or the video here) explaining how to set it up.
To keep your camera safe from prying eyes, consider setting up a VPN on your Raspberry Pi security camera that requires login to access.
In short, you’ll want to install a security camera operating system such as MotionEyeOS (or software such as Motion, if you don’t mind the process being a little more involved down the line), then connect to the internet by pasting some code into a configuration file, configure the camera, and forward some ports. Then, you should be able to access your camera from anywhere via the internet.
5 Use Pi 5 for home network storage
Keep your data backed up without sending it via a third-party company
@NetworkChuck
Network-addressed storage (NAS) is like cloud file storage (think DropBox, MegaSync, OneDrive, and so on), but you own and control the servers that store all your “cloud” data. With a little fine-tuning, you can use the Raspberry Pi 5 as a NAS and access your files at any time, from anywhere with an internet connection.
The Raspberry Pi 5, when connected to a USB SSD or HDD, can be used as a cheap but effective NAS solution — much cheaper than most NAS devices on the market. And while it’s powerful enough to run as a NAS device, it consumes such a small amount of electricity that it shouldn’t be too hard on the energy bill to leave it permanently powered on (as you’d probably want to do with any NAS device).
I left this one for last because setting up a Raspberry Pi as a NAS device is a little more involved than the other projects on this list. But, thankfully, Raspberry Pi has a great step-by-step tutorial for it, and there is a video tutorial here. If you follow these closely, you shouldn’t run into many problems.
It’s well worth doing, too — running your own NAS rather than relying on the cloud has many benefits. For one, it gives you another place to store your files as a backup. And you can access these files from anywhere, without having to rely on a company’s servers staying online for access.
Which cloud storage service is right for you? iCloud vs Google Drive vs OneDrive vs Dropbox
To help you optimise your mix-and-match approach, or better understand the pros and cons of each service, Pocket-lint has answered all your questions.


