
I don’t have disposable income to invest as an early adopter in systems that don’t have a chance to become a proper standard. One of the main reasons for being so late to the smart home game is the many walled gardens: Should I invest in Alexa, HomeKit, or Google Assistant?
That’s where Home Assistant (HA) comes in. With a mostly grassroots approach to smart devices that resembles the Linux ethos, HA offers support to many device classes, with specific devices added either through community developers or sponsored by a small number of companies.

What is Home Assistant
Home Assistant (HA) is an open-source software for home automation and control, not tied to a BigTech company, and based on a huge community of developers and tinkerers. It can run on a wide range of devices, from small Raspberry Pis to home servers of all sizes. Because of this, and the relatively small number of native devices supported, HA is far from a “just works®” type of system to implement. Rather, expect to read a lot of guides, troubleshoot a lot, and even thread uncharted territory.
New devices are constantly added, and of course, with close to zero official support from the original manufacturers, things sometimes break. So besides the initial setup time, occasional support work may be required from time to time. That is why there is a lot of activity on the HA community forum, with new tips, device support, projects, and tutorials popping up every day.
HA is like a turbocharged version of the traditional smart home walled gardens like Apple HomeKit, Google Home, or Amazon Alexa. Devices are integrated into a central control panel that can be accessed through any locally connected web browser or using one of the supported mobile apps.
The system already supports thousands of traditional smart home gadgets—smart plugs, lights, switches, motion sensors, cameras, air conditioners, media players, etc.—including integrations with the BigTech offerings if you prefer the convenience of using Alexa, Siri, or Assistant’s voice commands. And excels by including extensive support for energy management features, and of course, further integrations are being constantly added by the community.
With those characteristics, HA is not geared towards smart home newcomers, even though devices like the officially supported Home Assistant Yellow can cater to that group, but works best for people worried about privacy, want maximum control of their devices, and probably are tired of the many walled gardens between the existing ecosystems.
")
How does Home Assistant works
What sets HA apart from traditional smart home platforms is that despite offering an easy-to-use interface like the others, users can customize the heck out of their installations. Each device added to the system brings additional features and possibilities, especially for automation scenarios.
Automation can be set based on a device state (e.g. on/off, battery state), time of day, location, weather forecast, sunrise/sunset times, and much more. And each new gadget added not only opens up more ingredients to the automation recipes but also more options for rules and resulting actions.
For this initial guide, we will cover one of the many possible scenarios, with a simple domestic installation using a small home server–in this case, installed as an UnRaid docker. For future articles, we can cover more advanced scenarios with actions triggered by events, or simpler setups with almost plug-and-play installations.
Home Assistant setup
With dozens of possible ways to run HA, it is beyond the scope of this article to cover all possible installation scenarios. For that, you can always check the official documentation with a growing list of articles and guides.
We used the docker installation simply because it was the one easily available to us. As mentioned, you can run HA on basic hardware, including the popular Raspberry Pi–which as of writing this article still has supply issues–, other single-board computers (SBCs), old computers collecting dust in the house with fresh operating system install, or dedicated solutions designed to work straight away.
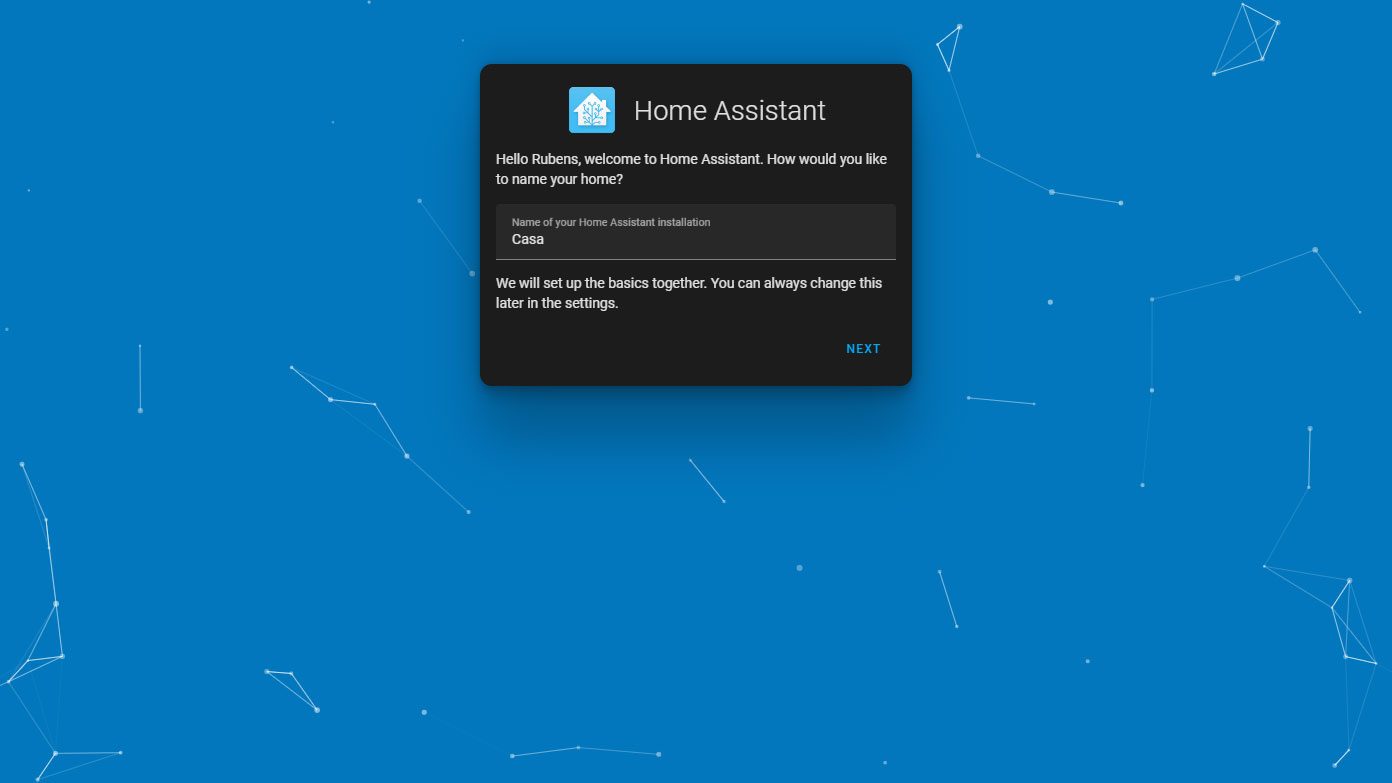
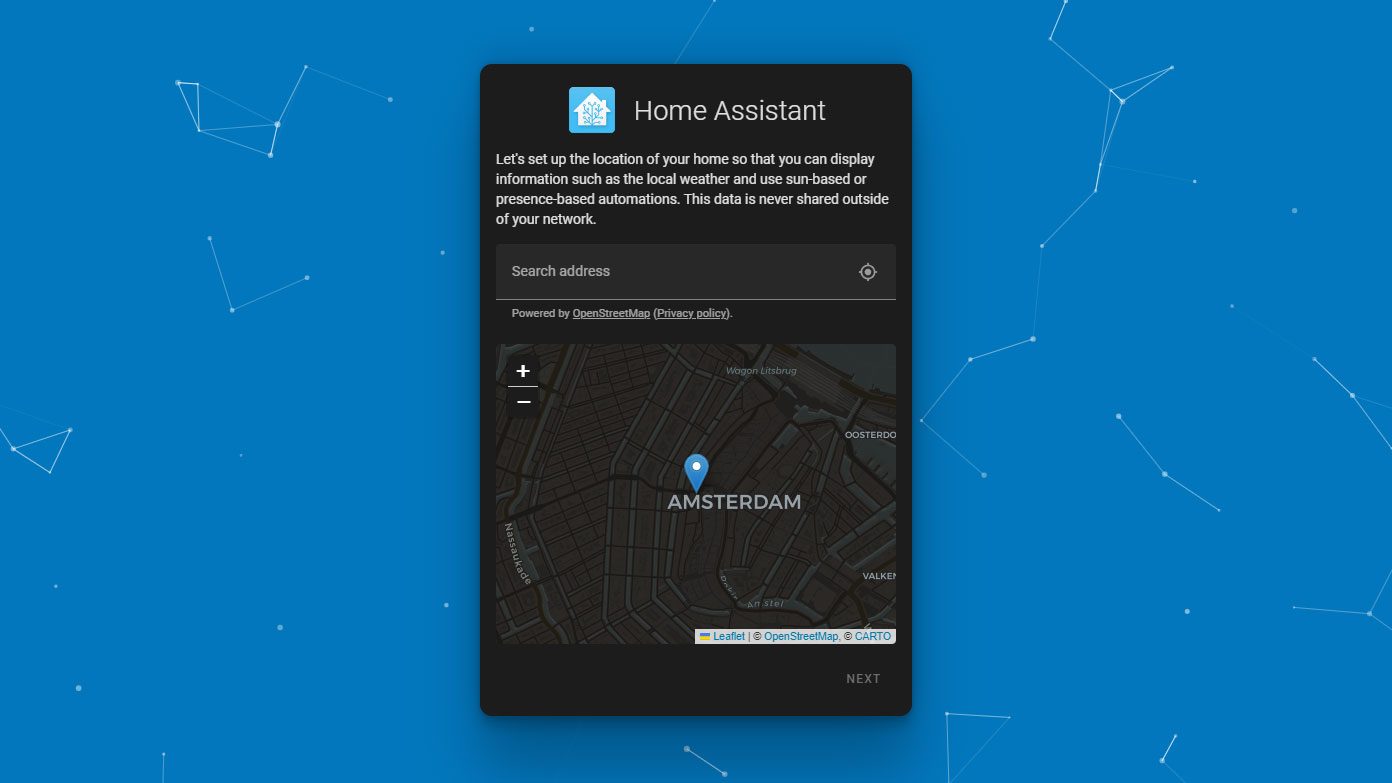
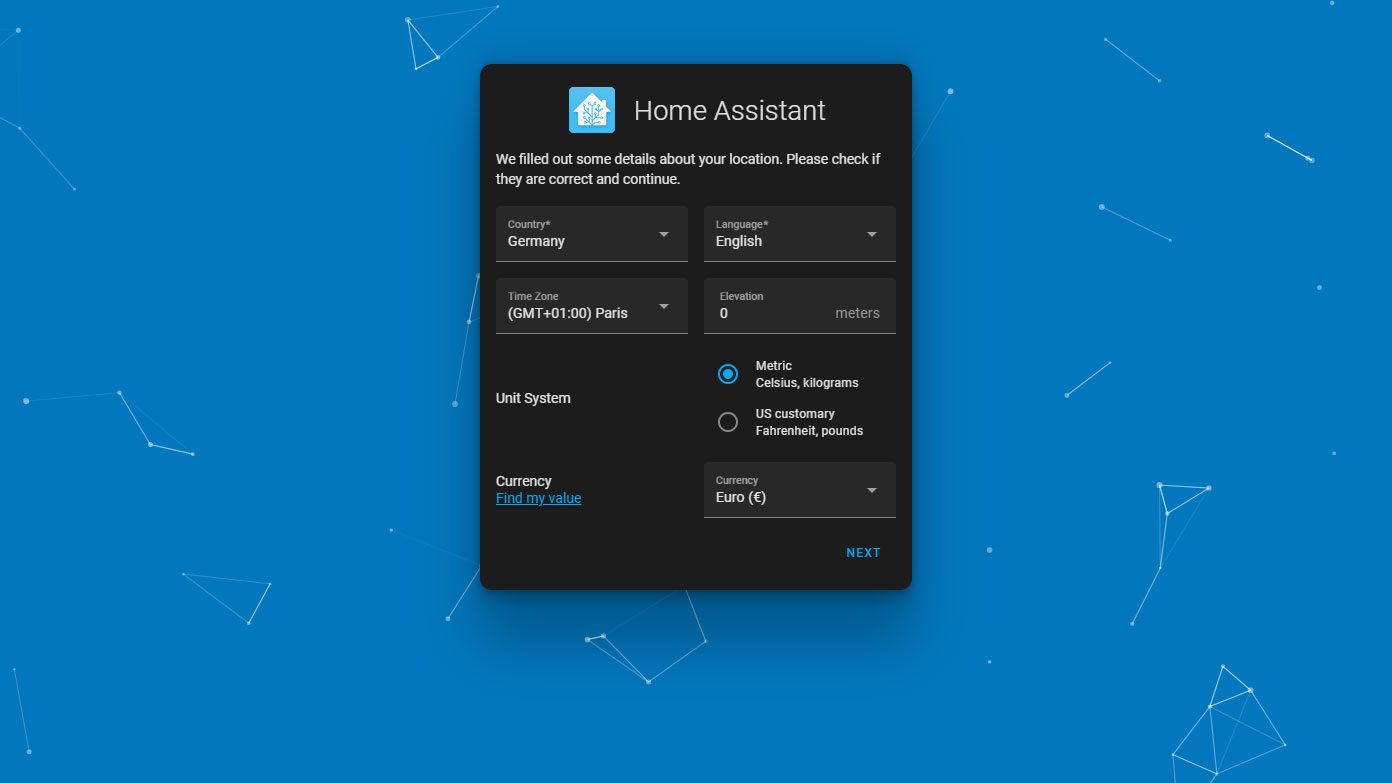
Installation in Unraid is pretty straightforward, not unlike installing an application from an app store. The first run will present a series of steps you can check in the gallery below:
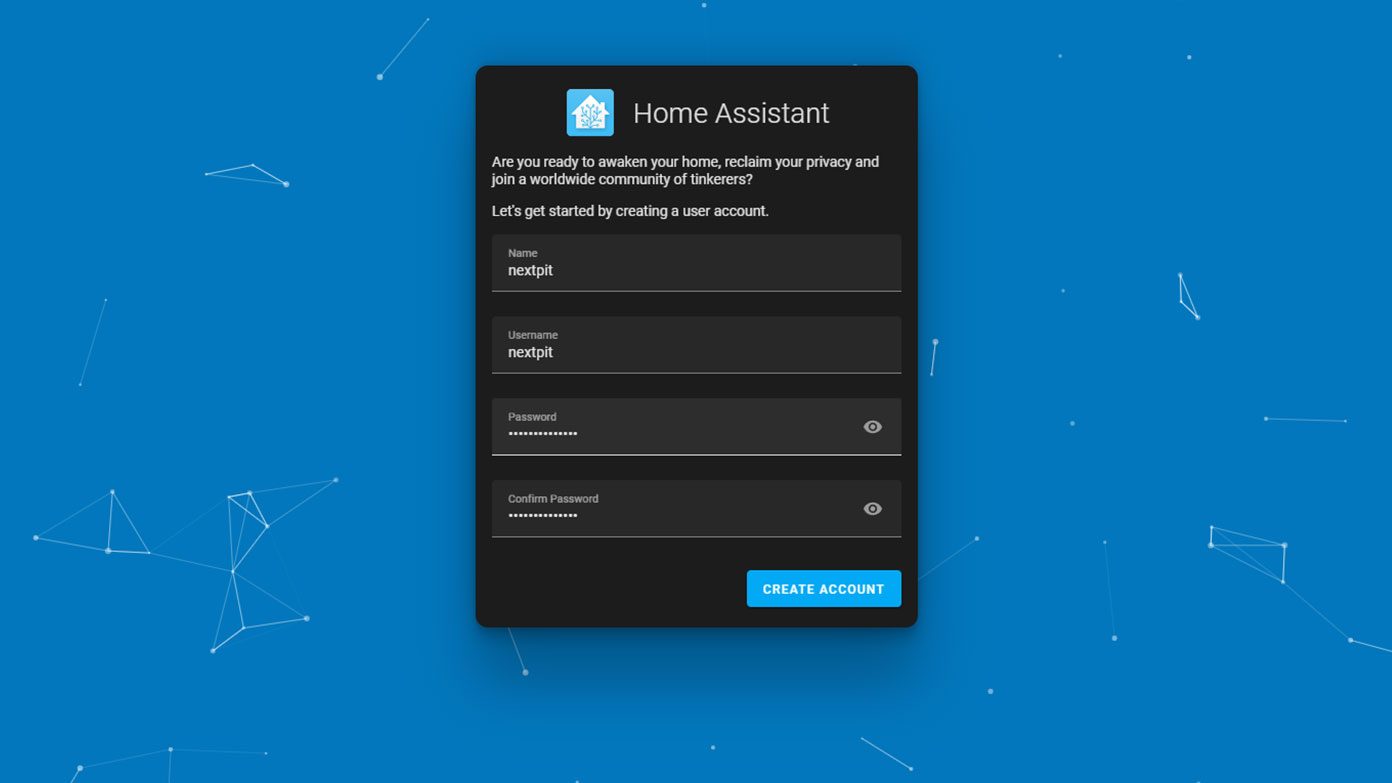
- Fill in your name, username, and password to create an account.
- Name your installation (“Casa” in the example above).
- The next screen asks for your precise or approximate location.
- The information is used to automate tasks based on time, sun times, and presence.
- Set the usual regional data like language, time zone, unit system, and currency.
- Those can be edited later on, just like the location data.
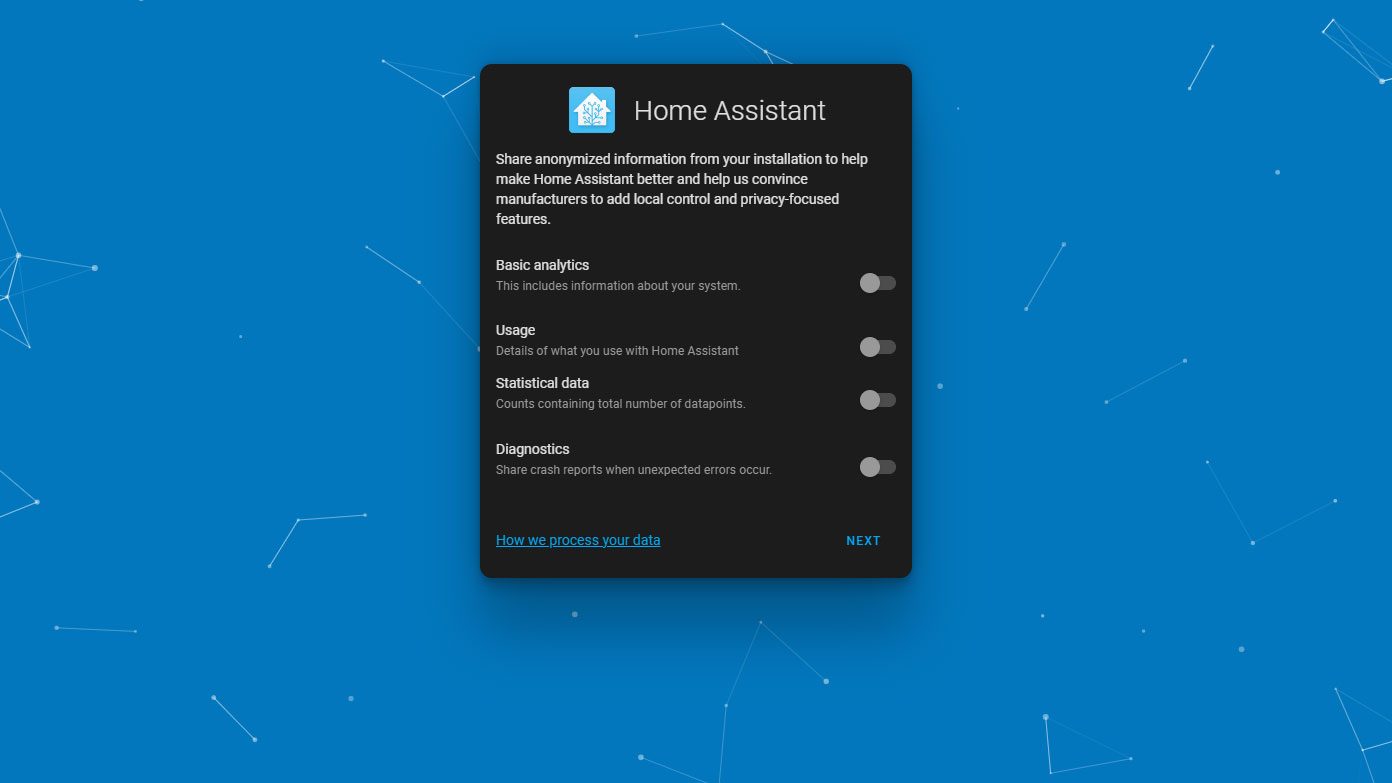
- Select the level of telemetry to report back to Home Assistant.
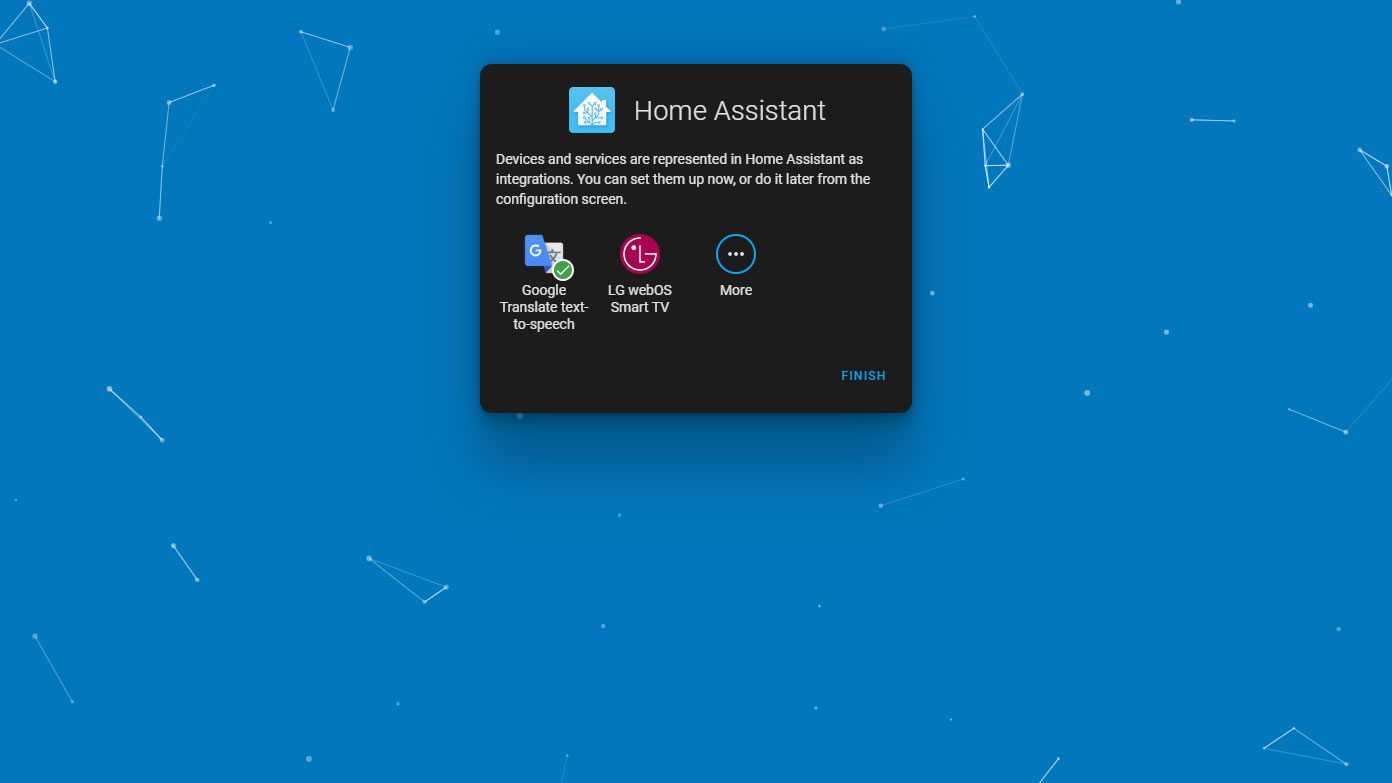
- The last setup screen shows detected devices.
After the initial setup, you can add other users, so access to features and system-breaking options can be given in a fine-grained manner.
In our case, HA automatically detected a couple of devices, including one LG smart TV. Other gadgets were easily found by going to System > Devices. For devices without native support on Home Assistant, the community offers a big repository of integrations, plugins, themes, and more through the Home Assistant Community Store (HACS, conveniently).
Automating tasks with Home Assistant
Each device detected by Home Assistant opens up a variety of actions and triggers that can be combined into powerful automation tasks. For a simple example, we set in the screenshots below a smart plug to automatically turn on the connected light spot one hour after sunset.

- On the main menu (≡), choose Settings.
- Select Automations & scenes.
- Tap on Create Automation.
- Add Triggers, Conditions, and Actions to your automation.
- In the example above, the “sunset time +1 hour” is the trigger, and there are no conditions.
- The action we set was to simply turn on the smart plug, which turns on the lights.
Of course, that is a very rudimentary use of Home Assistant. This same automation can be fine-tuned to only be triggered based on the status of another device—e.g. if the motion detector didn’t register someone in the past hour—, to include multiple triggers, conditions, and actions, etc. As with device support, the community also stepped up to offer automation recipes on the Blueprints Exchange forum.
One useful (and powerful, and money-saving) possibility is to make use of weather forecasts in conjunction with a solar panel installation to schedule energy-consuming tasks (e.g. drying clothes). Similarly, it is possible to use dynamic energy pricing information as part of automation to avoid peak prices.
One more thing, to install blueprints, integrations, and other community-made content on Home Assistant, remember to set your HA installation address on this page. That way, a single click will integrate it with your local installation, simplifying setup.
More smart home articles on nextpit
This was just a brief introduction to Home Assistant. Are you already a HA user? Share your tips and experiences in the comments below. Additionally, tell us more about what would you like to see in further articles on the topic.


