
Key Takeaways
- These tips help you get the most out of your Apple Vision Pro, making it way more user-friendly and fun to use.
- Knowing how to tweak settings and use shortcuts can make your Vision Pro experience better. For instance, press the top button and Digital Crown together or ask Siri to quickly take screenshots.
- You can also share your Vision Pro experience by mirroring the screen to an Apple TV, iPhone, or Mac.
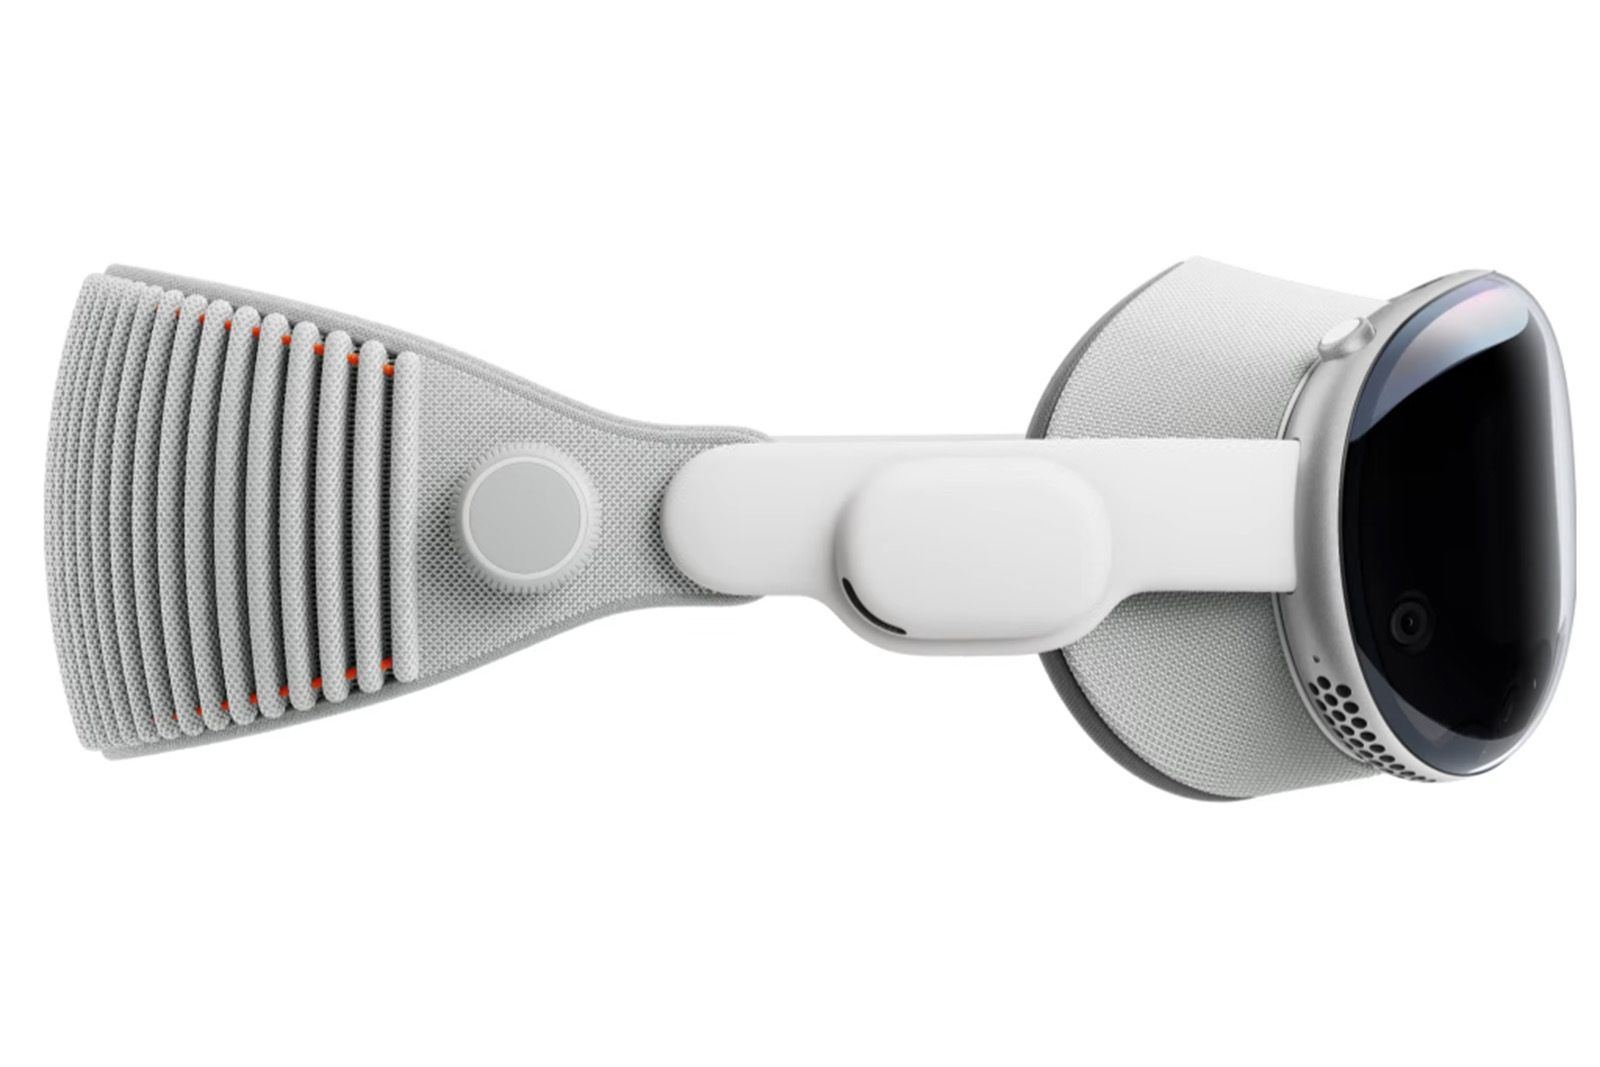
Apple’s first spatial computer, the Apple Vision Pro, introduces an entirely new method for interacting and controlling the equally new interface.
Whether you’re a recent Apple Vision Pro owner or someone who’s thinking about getting Apple’s headset, it’s a good idea to take a few minutes to learn how to use some of its core and hidden features. For example, did you know you can mirror the Vision Pro to an iPhone or iPad? It’s possible and really easy.
Below I’ll walk you through nine different tips and tricks I find myself using all the time, even after a month of daily use.

One month with Apple Vision Pro: I get it now. I’m obsessed
Despite my initial skepticism of Spatial Computing, and the hurdles to get eye lenses, Apple Vision Pro is wildly impressive.
1 Lost? Recenter your view
Or you can use this to bring all open windows into the same room
At any time, if you feel like the headset isn’t centering new apps and windows within your field of view, you can long-press the Digital Crown for a second or two until your apps are centered in front of you. It’s a quick feature but one that’s easy to forget, especially if you find yourself getting frustrated when you can’t locate your windows, or they’re not where you expected.
This is also a quick and easy way to bring all your open apps into the room you’re currently in — a feature I often find myself using after leaving my office and going to my living room or vice versa.
2 How to take a screenshot on Apple Vision Pro
It’s easy but tricky
Taking a screenshot on the Vision Pro requires a two-button combination similar to how you’d take a screenshot on the iPhone or iPad. And since there are only two physical buttons on the headset itself, it’s pretty easy to get the hang of which buttons to press.
To take a screenshot, press the Top Button and the Digital Crown at the same time. After a quick, simultaneous press of both buttons, you’ll hear a camera shutter to let you know the screenshot was captured.
Alternatively, you can ask Siri to take a screenshot by saying “Siri/Hey Siri, take a screenshot” and after a slight delay, you’ll hear the same camera shutter to let you know it’s captured.

Now, for the tricky part: you’ll need to make a conscious effort to keep your head level. I can’t tell you how many screenshots I’ve taken where the windows in the headset looked straight and even, only to see them heavily tilted left or right in the screenshot. I’ve had better luck with getting straight screenshots since updating to visionOS 1.1, but your results may vary.
3 How to screen record on Apple Vision Pro
Sometimes a video tells a better story
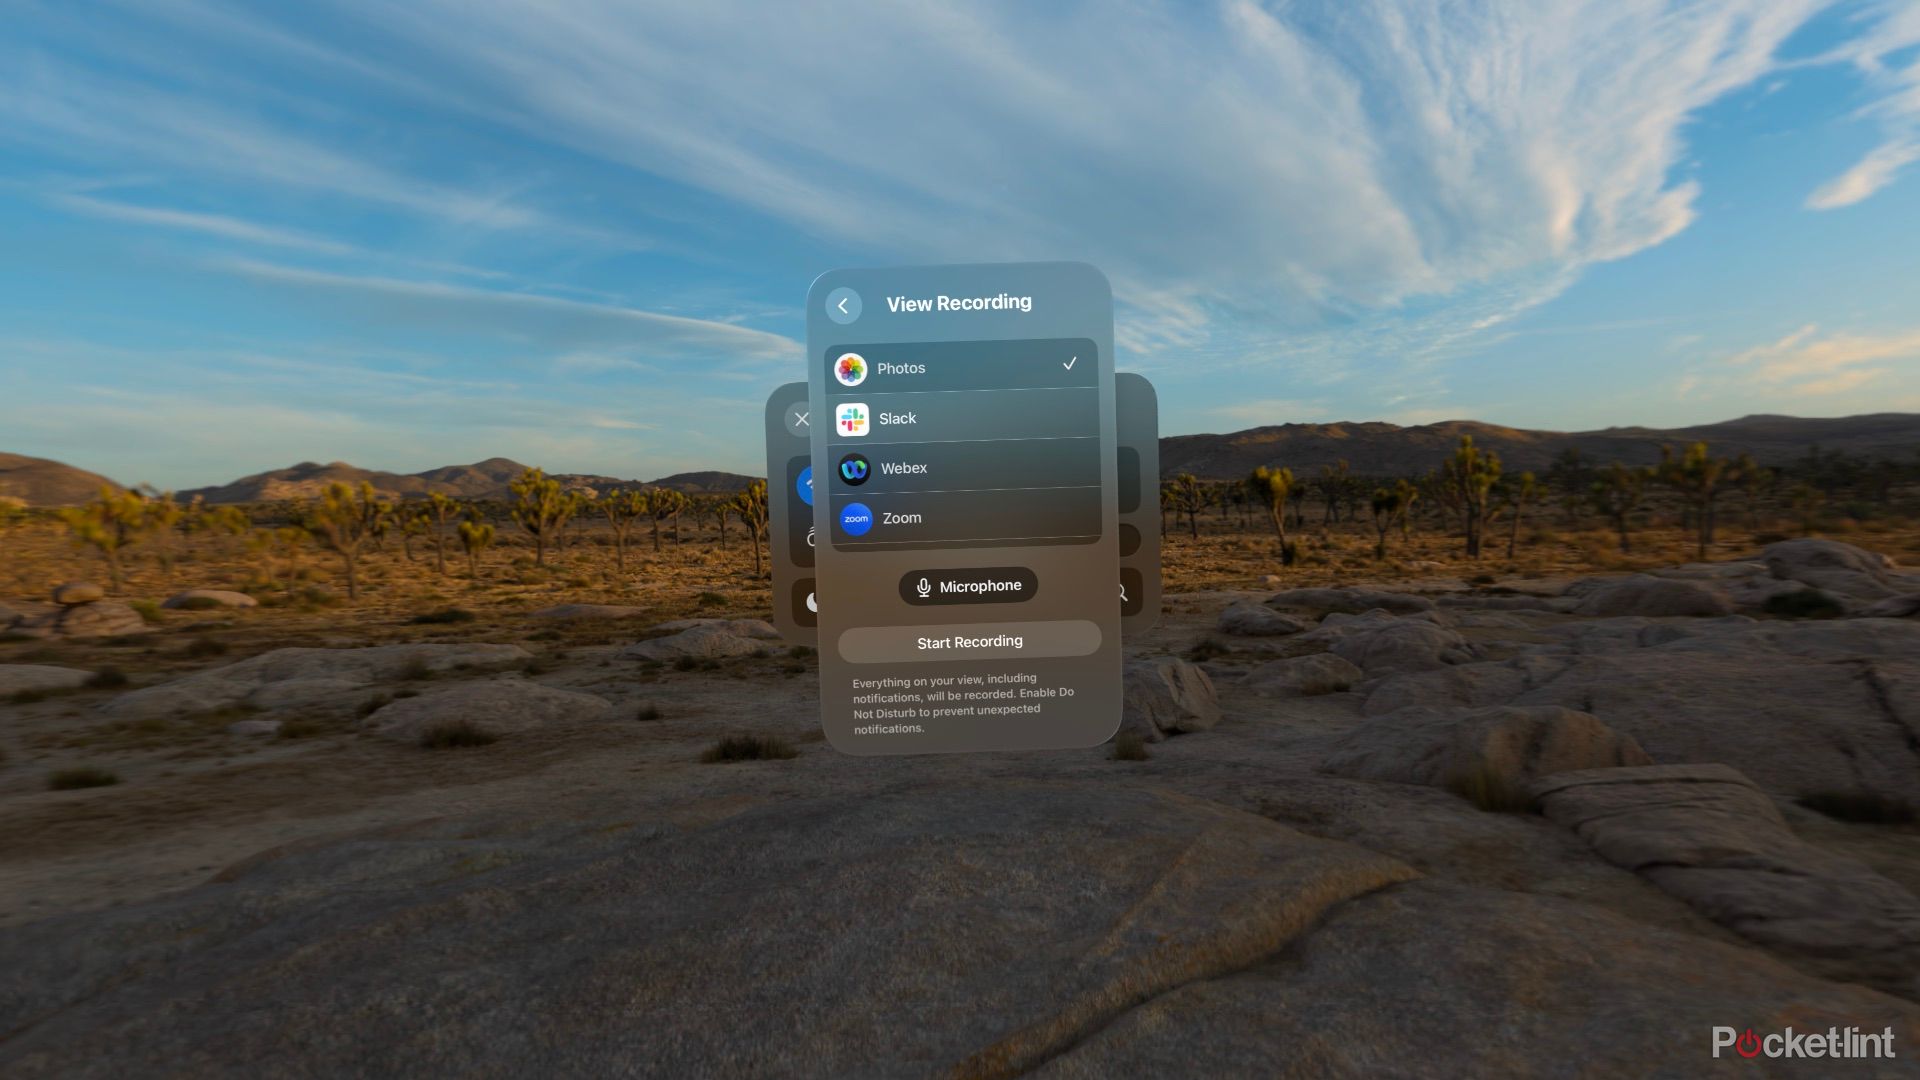
Instead of taking a screenshot, you can take a screen recording of what you see in the Apple Vision Pro with just a few taps of your fingers. To start a screen recording, look up until you see a small circle with a down arrow, look at it, and then tap your fingers to open a menu. Next, look at and select the Control Center icon that looks like two switches stacked atop each other. From there, look for the Screen Recording icon (it’s the one with two circles, one inside the other). You’ll see a countdown start, letting you know how long until the screen recording starts.
If you long press — er, pinch? — on the Screen Recording icon, you’ll see the same options as you find on an iPhone, allowing you to enable or disable the microphone, and even which app you want the recording to be sent.
4 How to enter environments (and change volume)
Patience is key
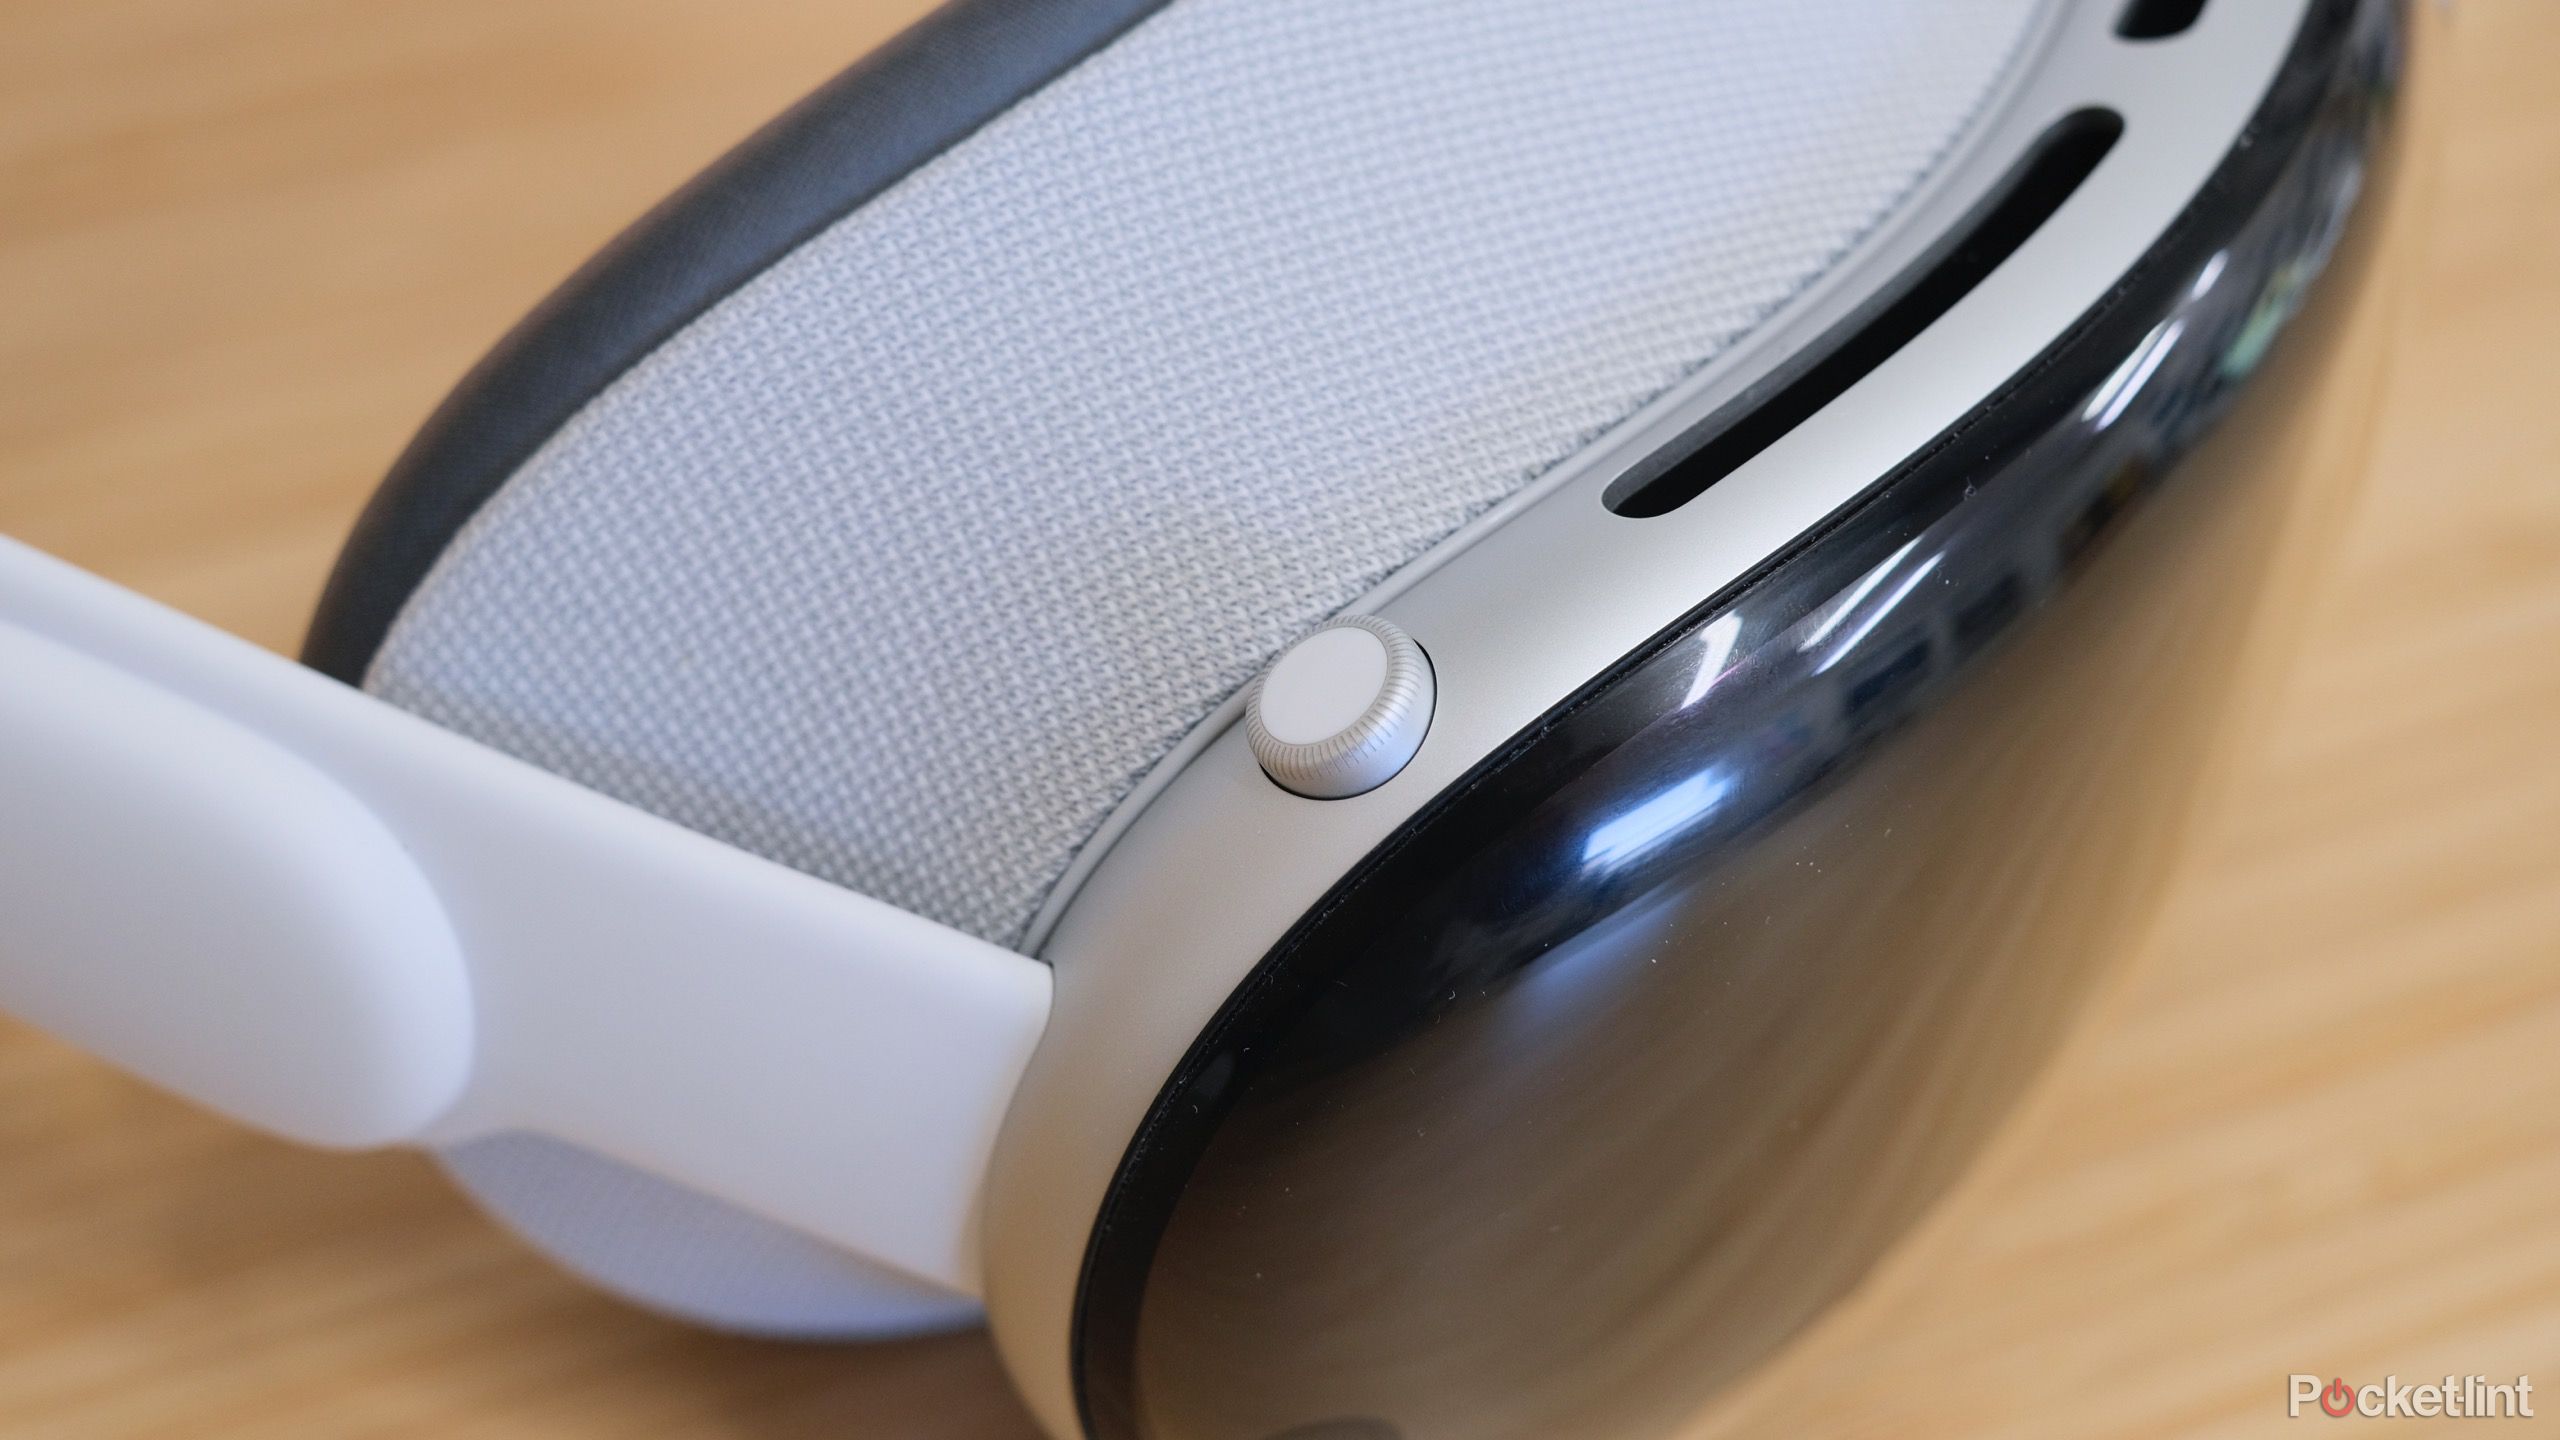
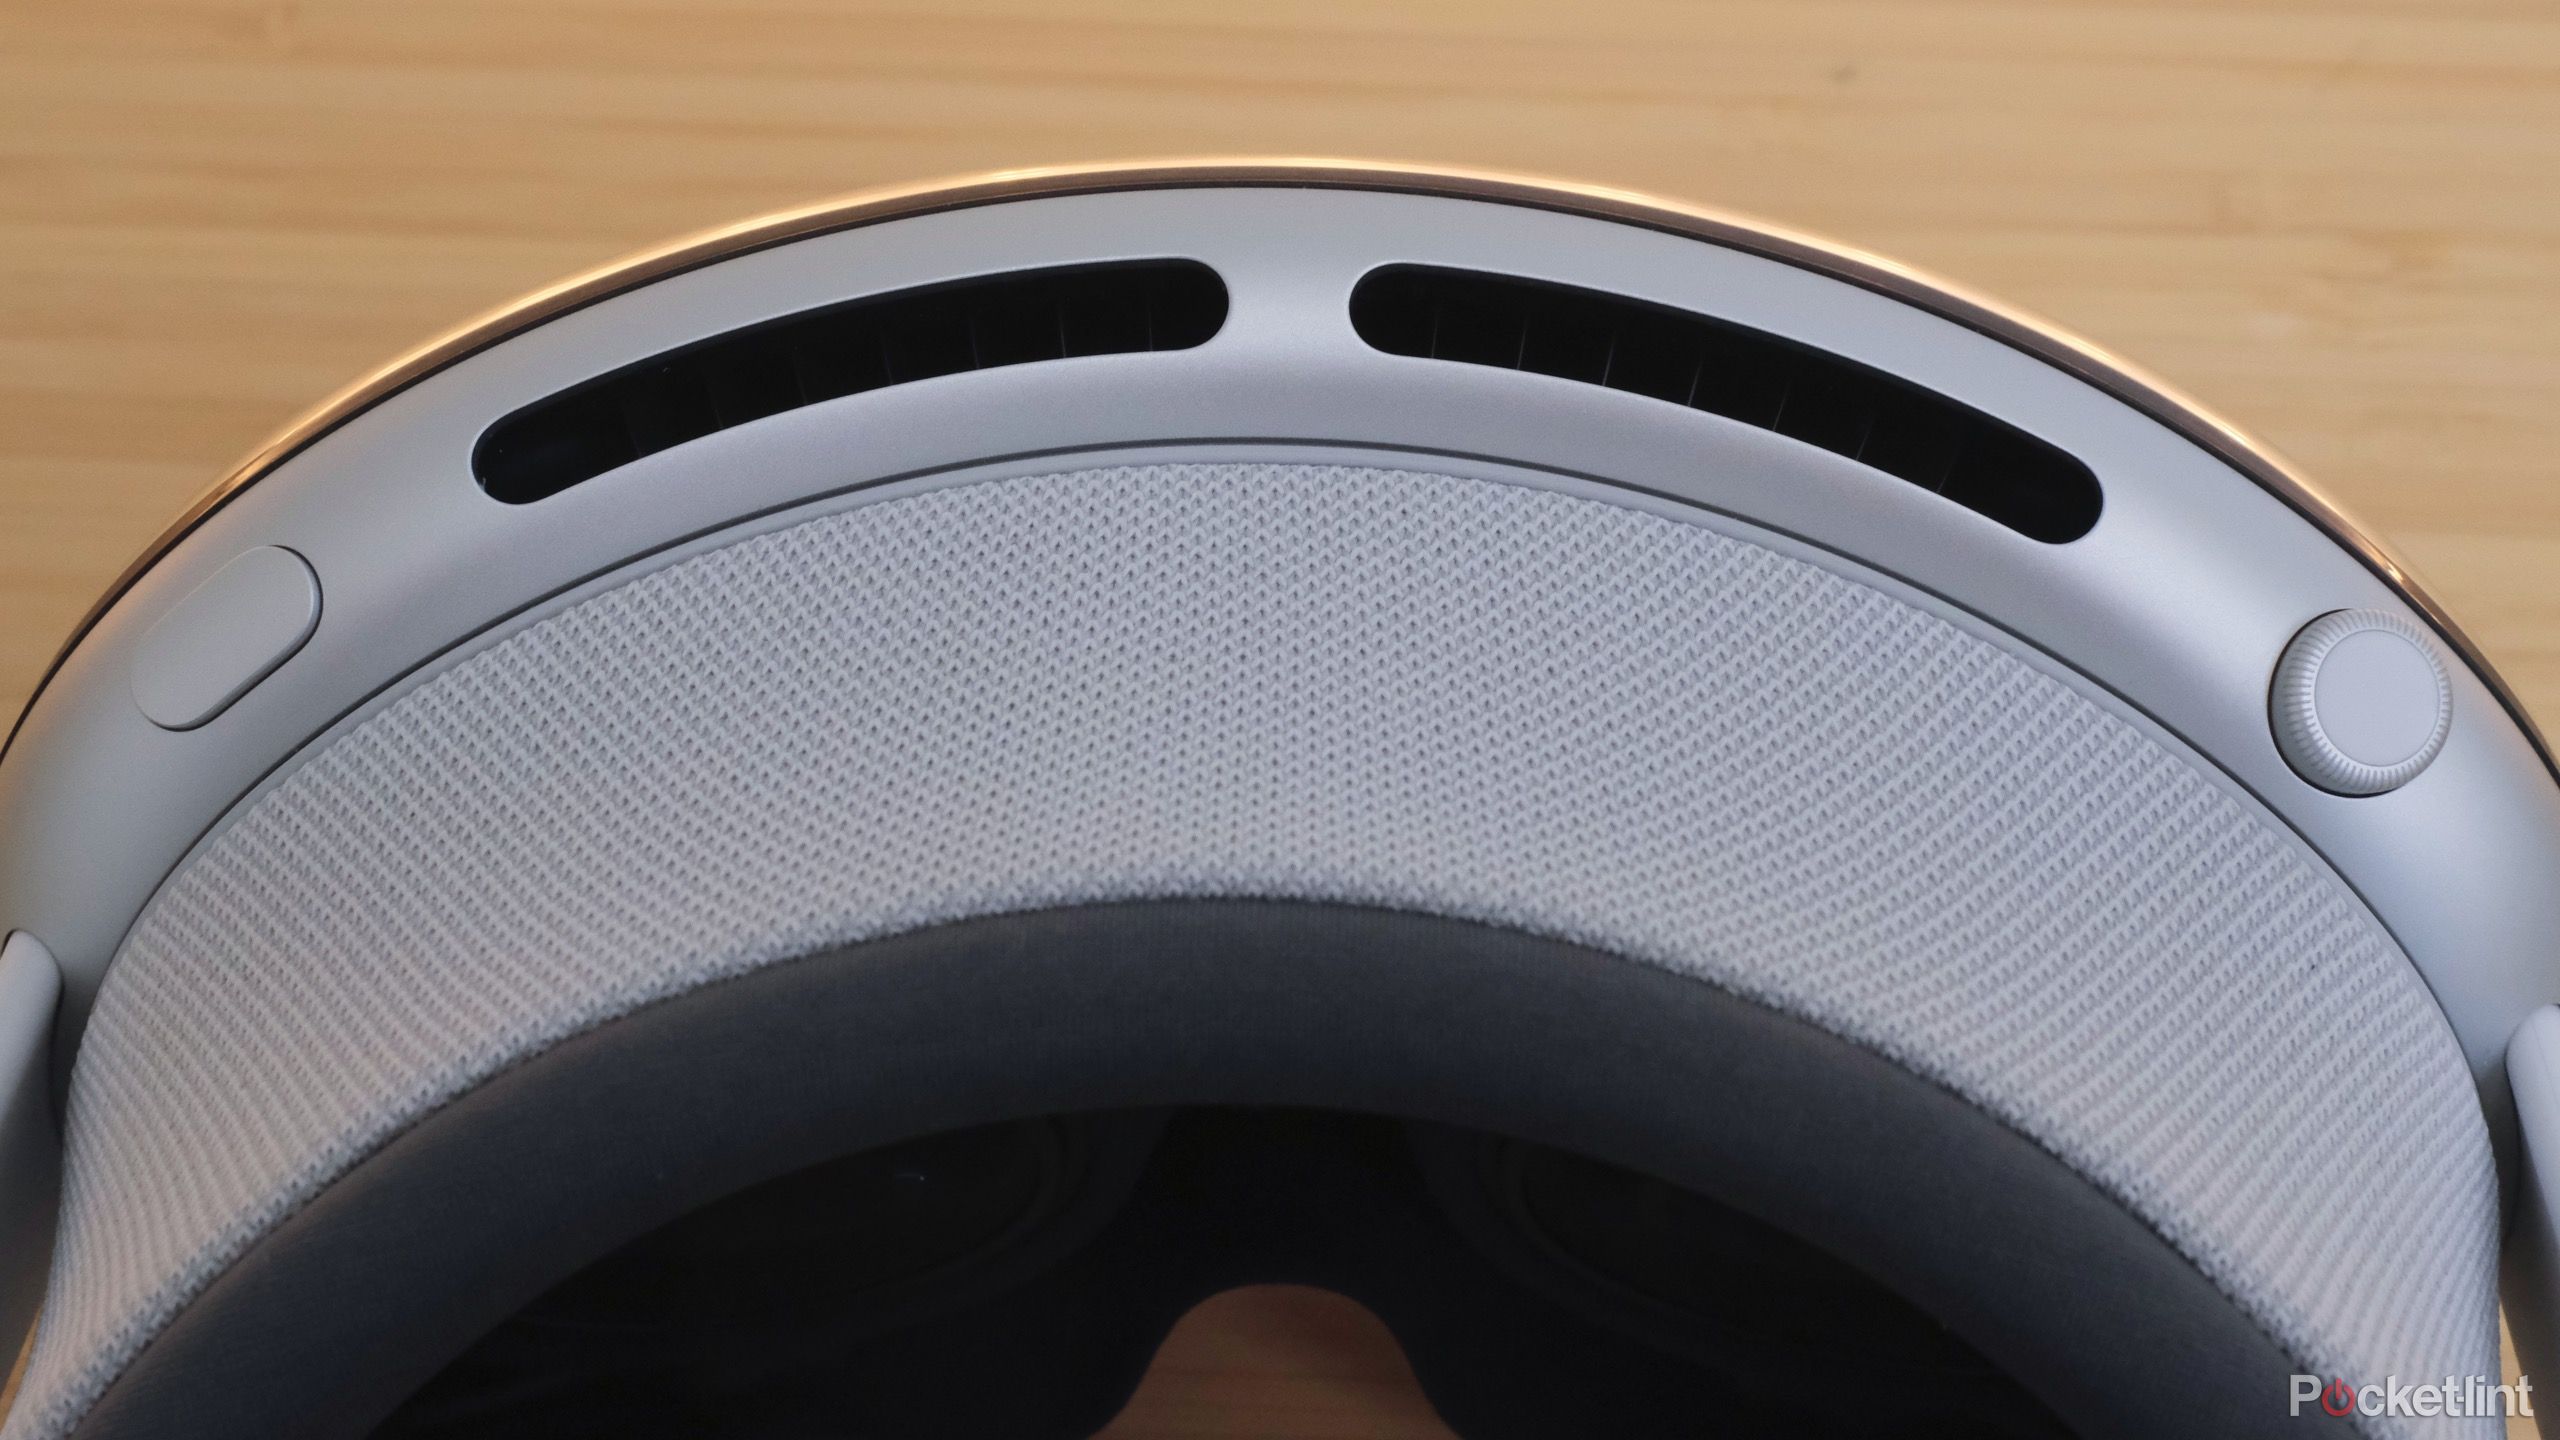
The easiest way to enter or leave one of the pre-installed environments or make a quick volume adjustment is to use the Digital Crown in the top-right corner of the headset. As soon as you start turning the crown, you’ll see a circular icon that represents the environment show up in the middle of your field of view. Keep turning the dial to the right to increase the level of immersion of your last used environment or to the left to decrease it. It’s easy enough to go in and out of Mount Hood, the moon, or Yosemite.
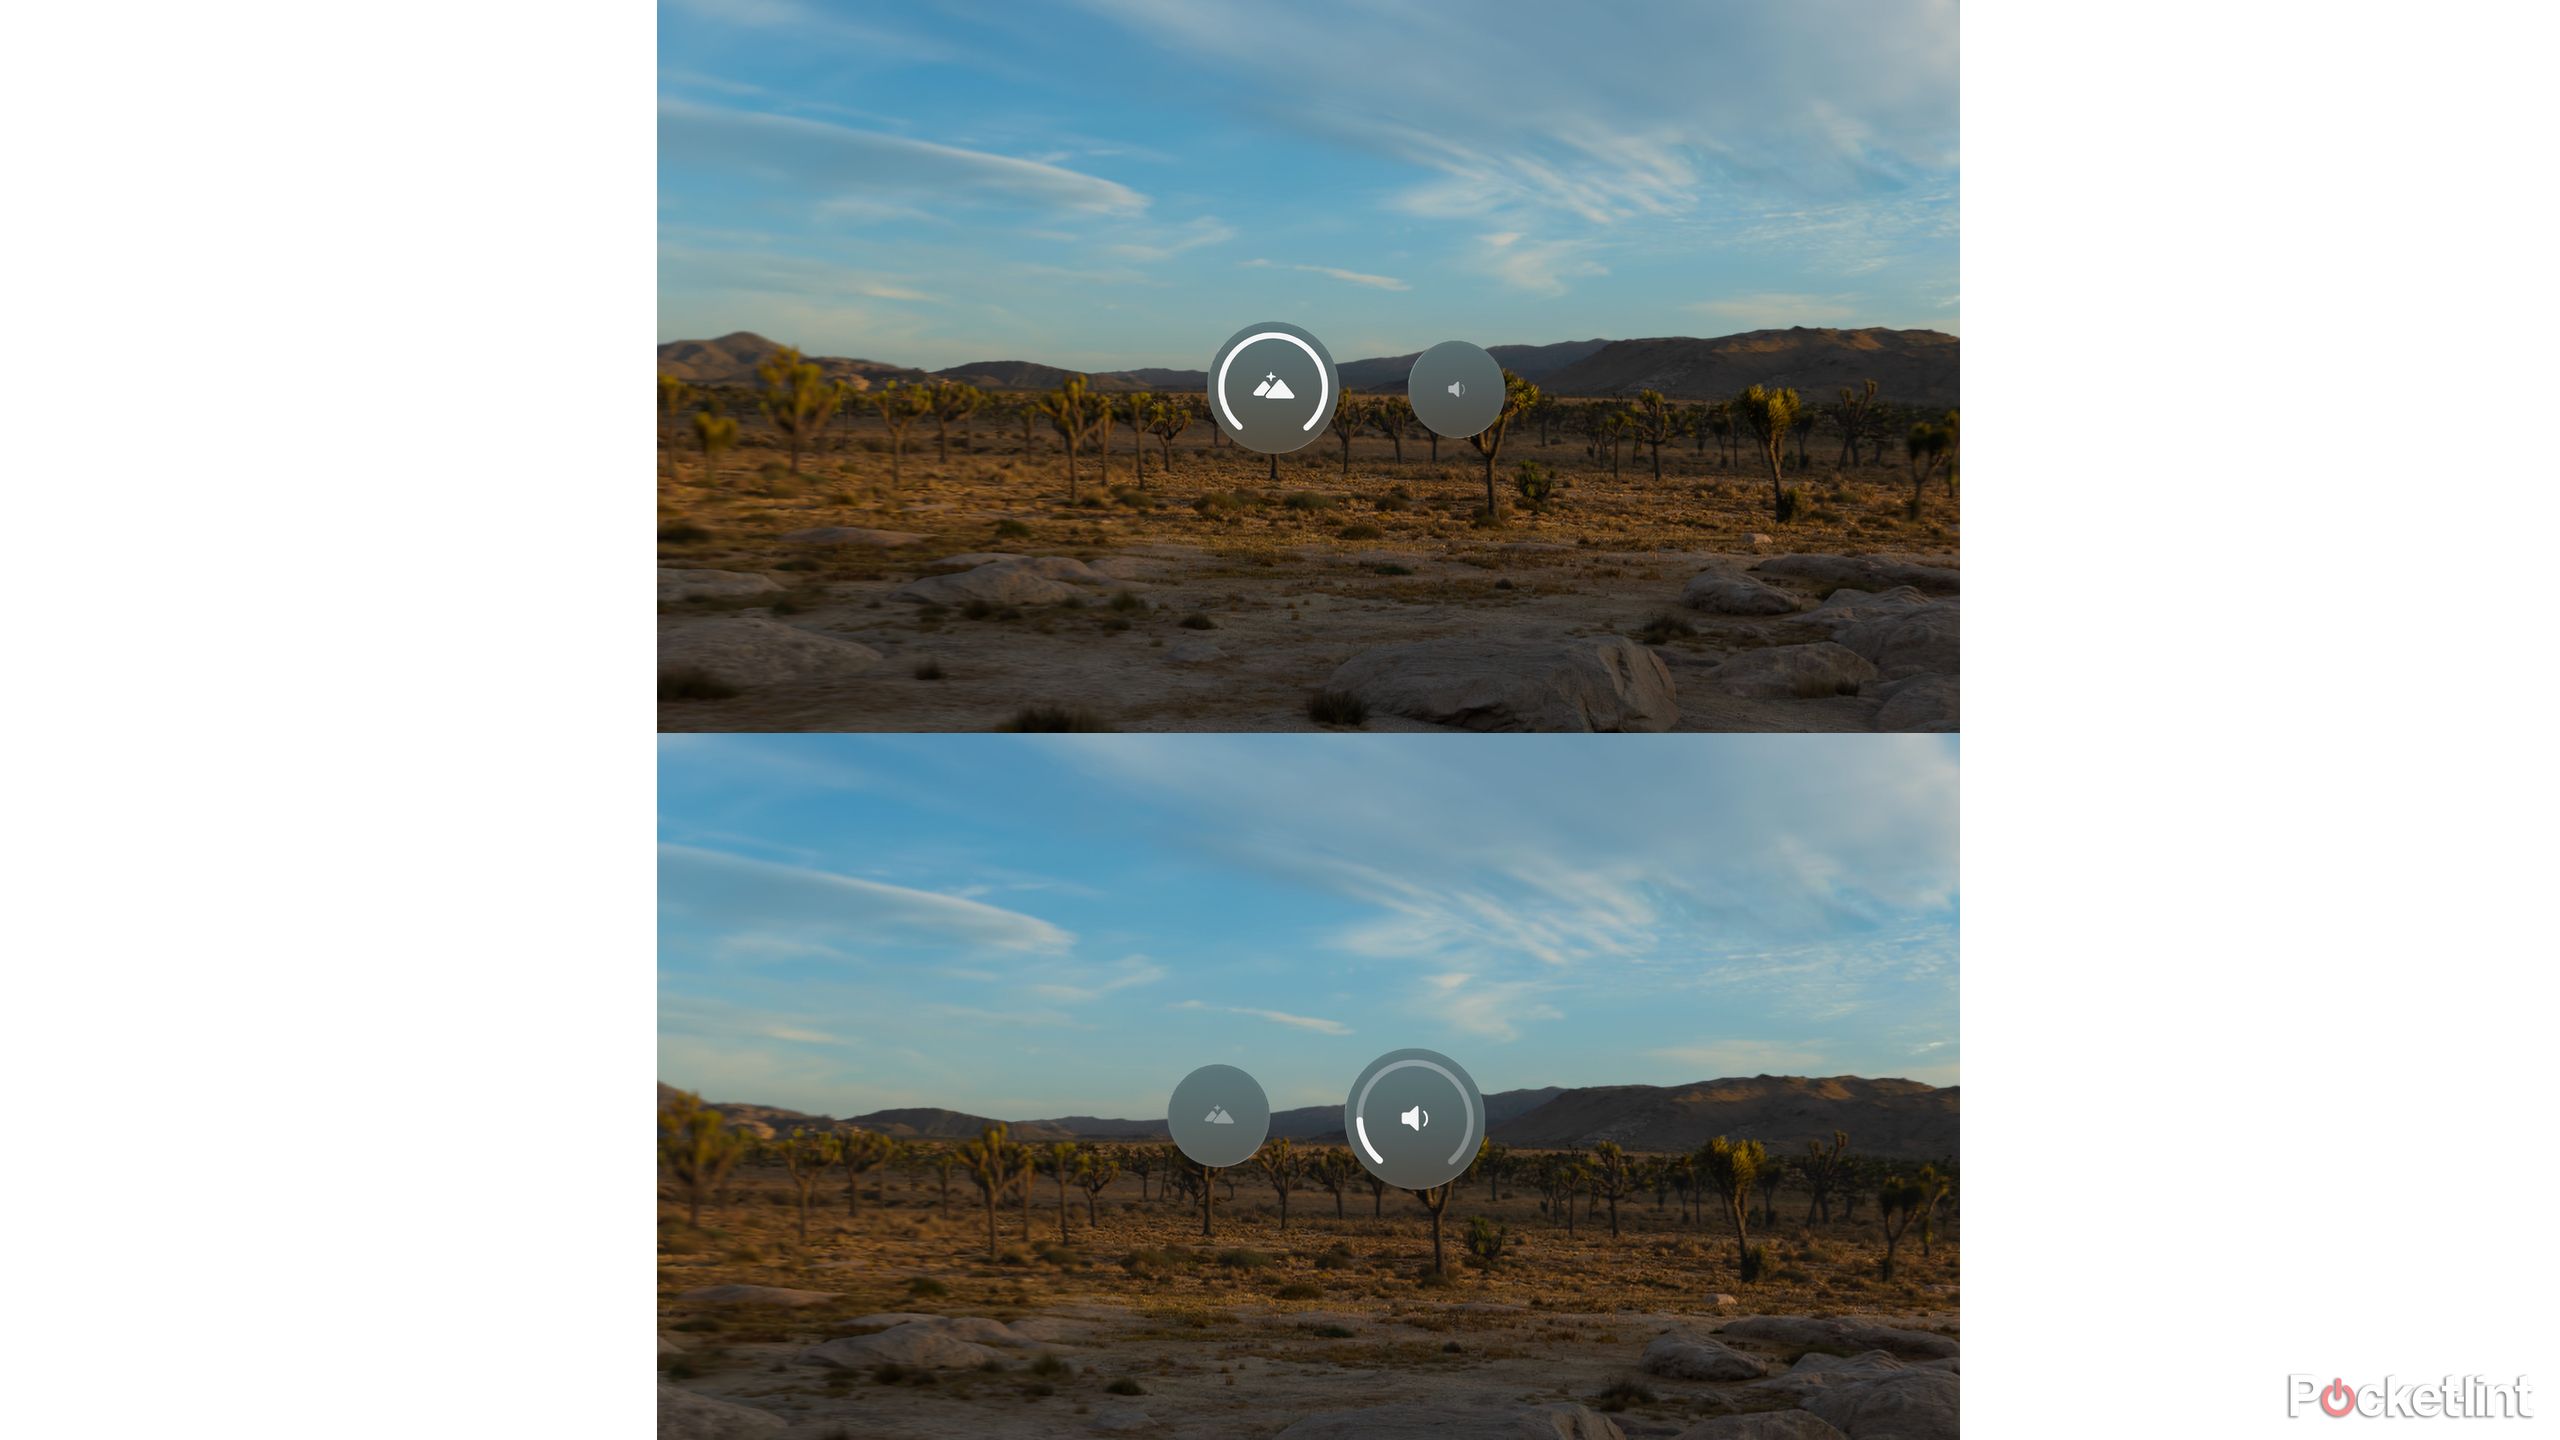
However, you can use this same method to adjust the volume of your headset, but it requires a bit of patience. If you barely turn the Digital Crown, you’ll see the environment icon, along with a volume icon to the right of it. Ensure your eyes are looking at the volume icon long enough for it to become highlighted. You’ll know it’s highlighted when the volume icon enlarges while the environment icon shrinks. Now, turn the Digital Crown to adjust the volume up or down.
After a month, I still have to consciously remind myself to slow down and look at the volume icon long enough before turning the dial, but this method is far easier than opening the Control Center and then using the volume slider.
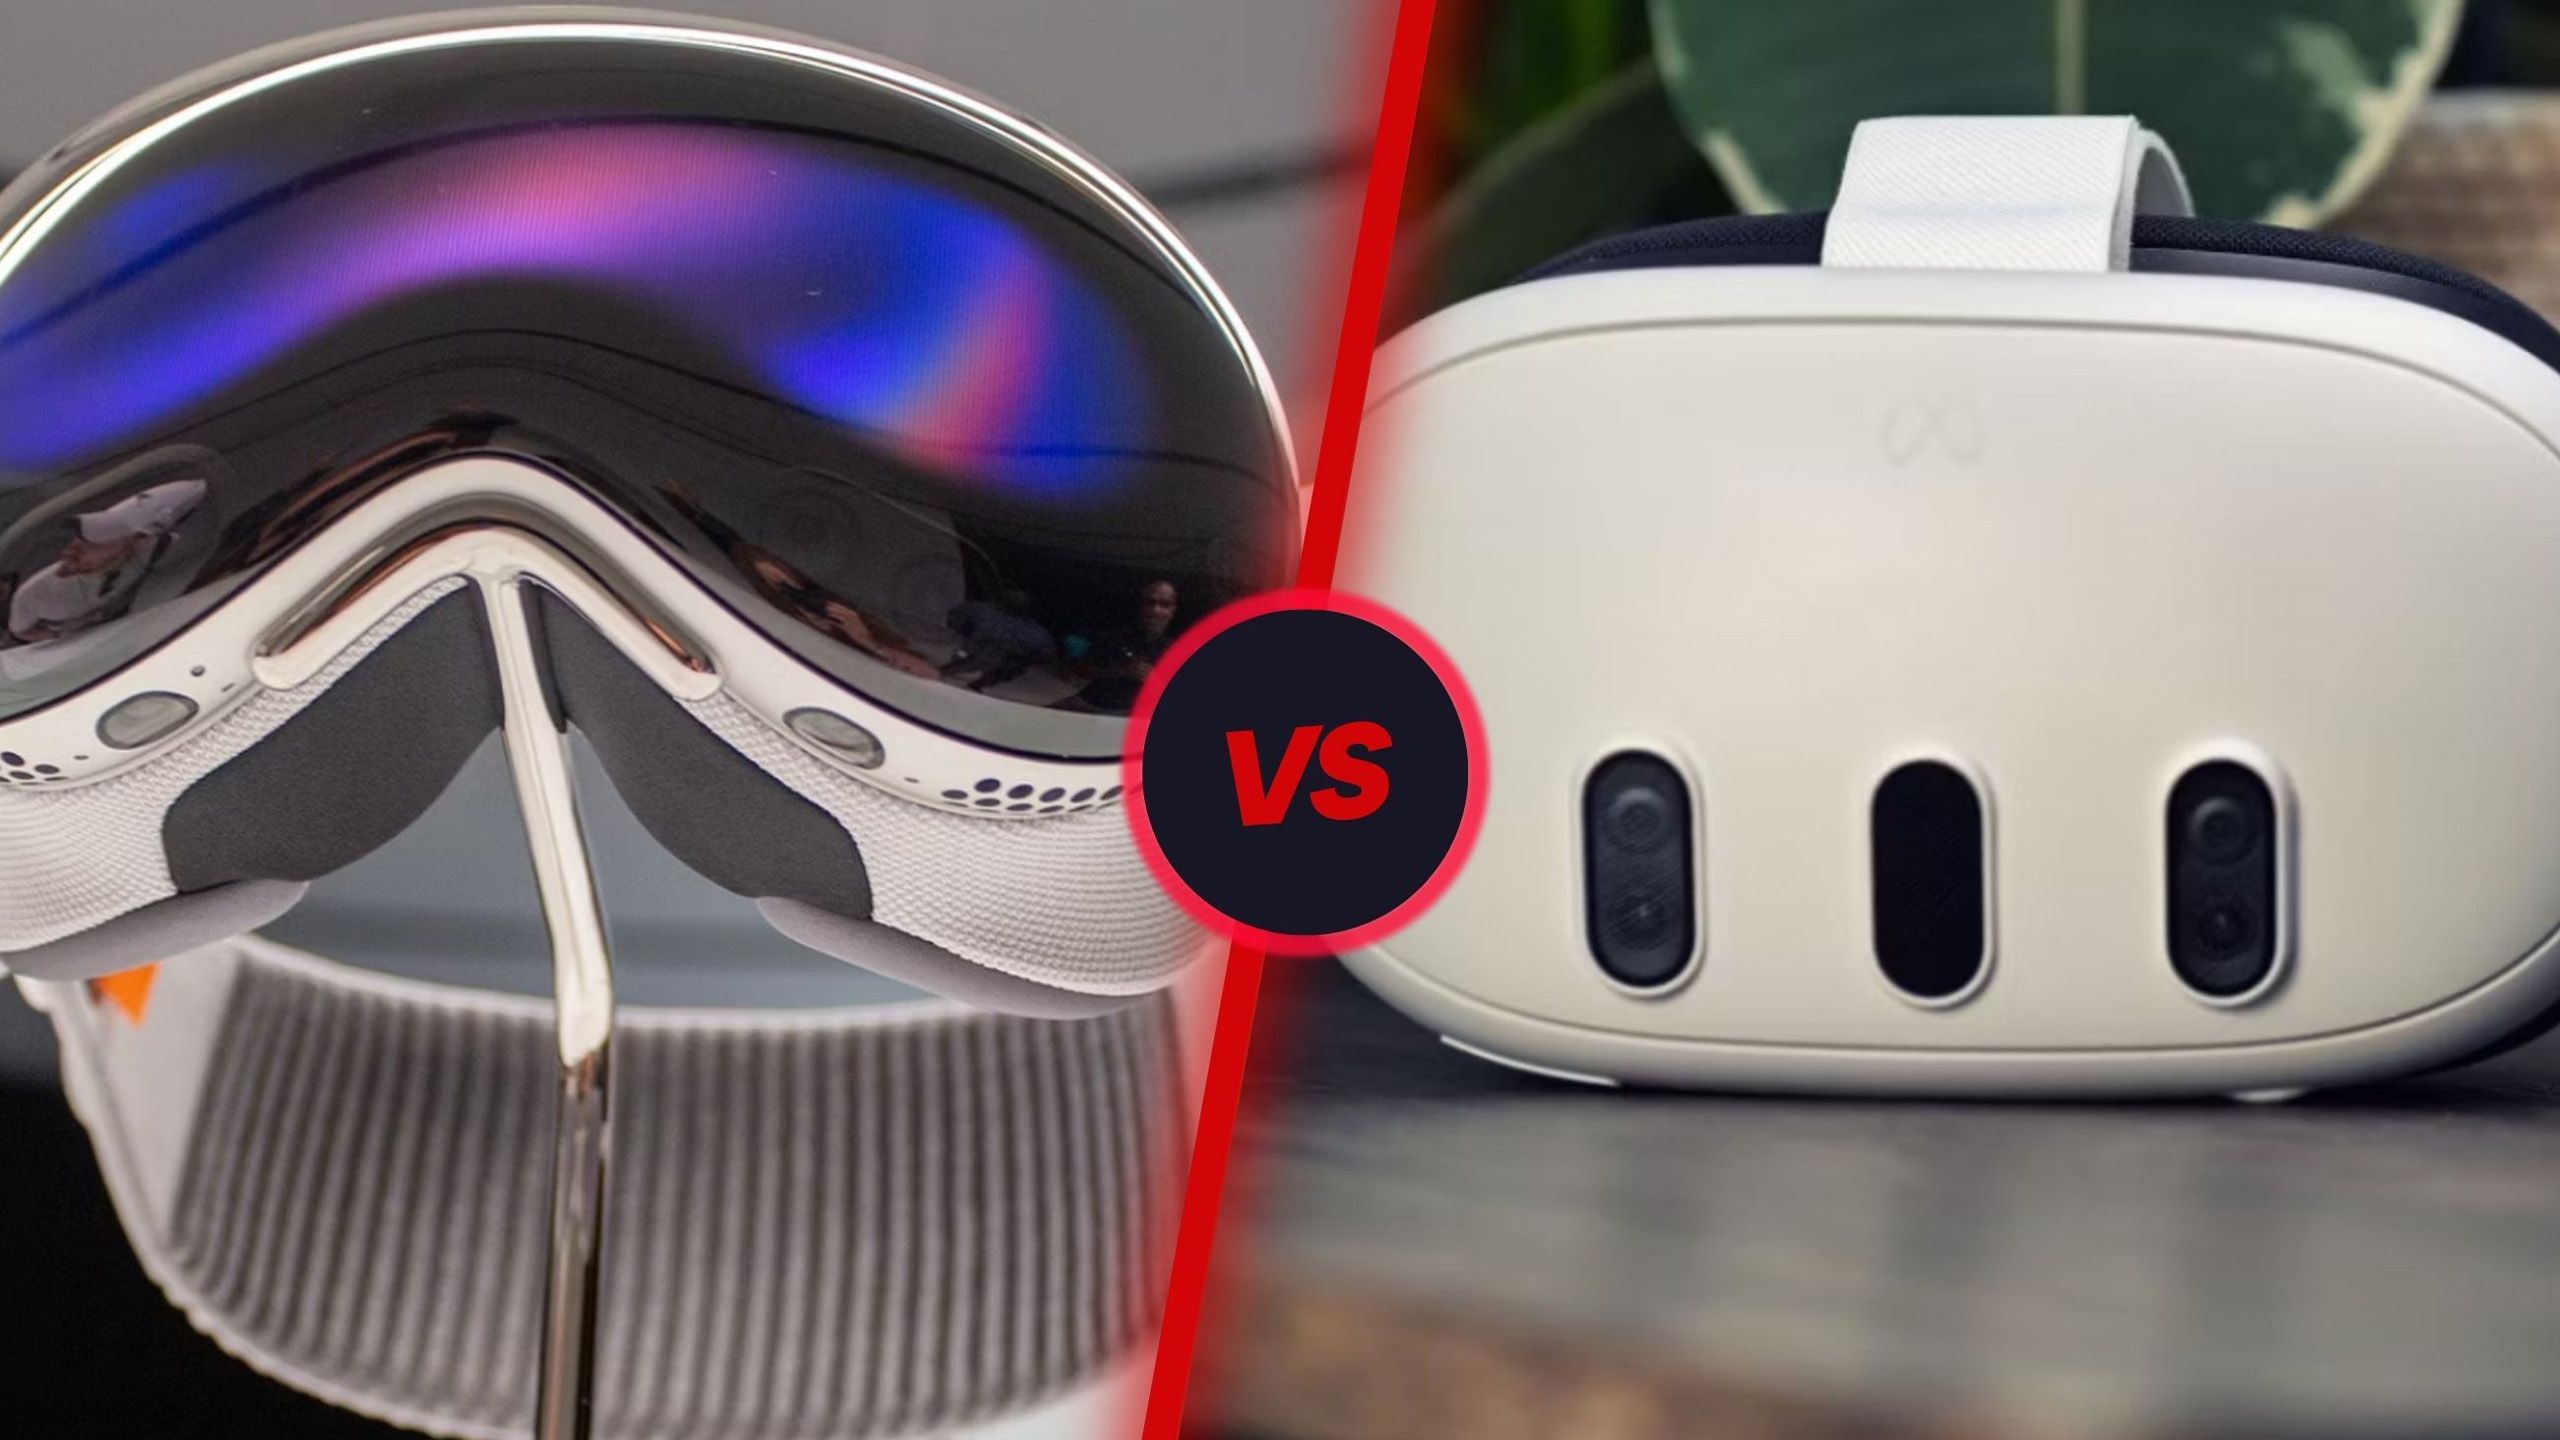
Apple Vision Pro vs. Meta Quest 3: What’s the difference?
Apple’s Vision Pro is a natural competitor for the highly touted Meta Quest 3, even if both are wildly different. Here is everything you need to know.
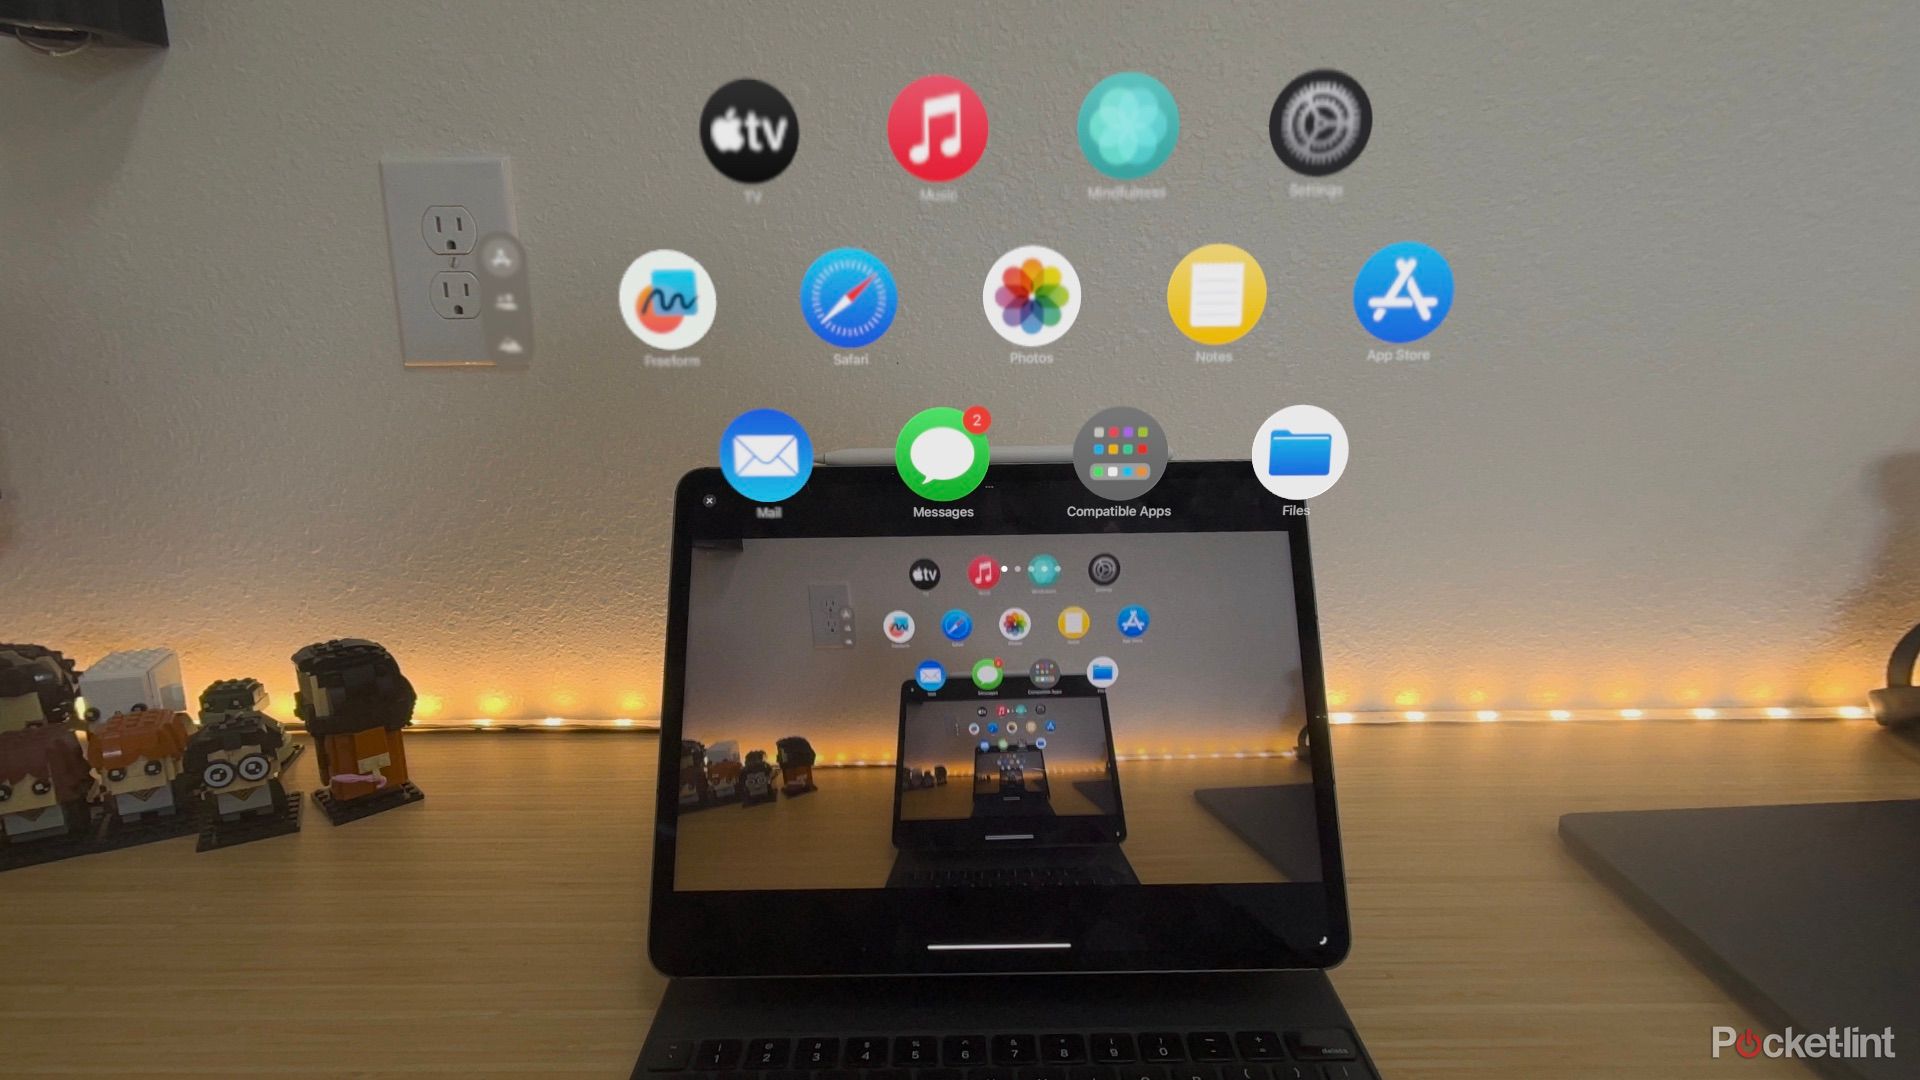
5 How to use your Mac from Apple Vision Pro
It’s the ultimate productivity hack

Looking at your MacBook and seeing the Connect button automatically displayed above the screen is one of the more magical experiences of the Vision Pro. Once you look at the icon and select it, your Mac’s screen will go black, and you’ll see a giant floating window that effectively serves as an extended virtual display of your Mac appear in front of you. You can then use your MacBook’s keyboard and trackpad to interact with any apps on your Mac, or if you have Handoff enabled on your Mac, you’ll be able to use the mouse and trackpad to interact with Apple Vision Pro apps.
If you have a Mac desktop, you’ll need to manually start the session by opening Control Center (look up at the small circle and then tap to open), then select the Control Center icon, followed by the MacBook icon with a Vision Pro in front of it, and finally, your Mac from the list of options.

In order for all of this to work as designed, you’ll want to make sure you’re logged into the Mac and headset using the same iCloud account, that you have iCloud Keychain enabled on both devices, and that you have Bluetooth and Wi-Fi on both devices turned on.
Keep in mind that if you have more than one display connected to your Mac, the Vision Pro will only show a single screen.
6 How to recalibrate Apple Vision Pro’s eye-tracking
It only takes a few seconds and can make a huge difference
Navigating the Vision Pro is done by using your eyes to highlight or select something on the displays, and then pinching your finger and thumb to select it. For the most part, it works without issue. However, there have been a few occasions in my use where the eye-tracking accuracy is less than ideal. Thankfully, you can recalibrate the headset’s eye-tracking in less than a couple of minutes.
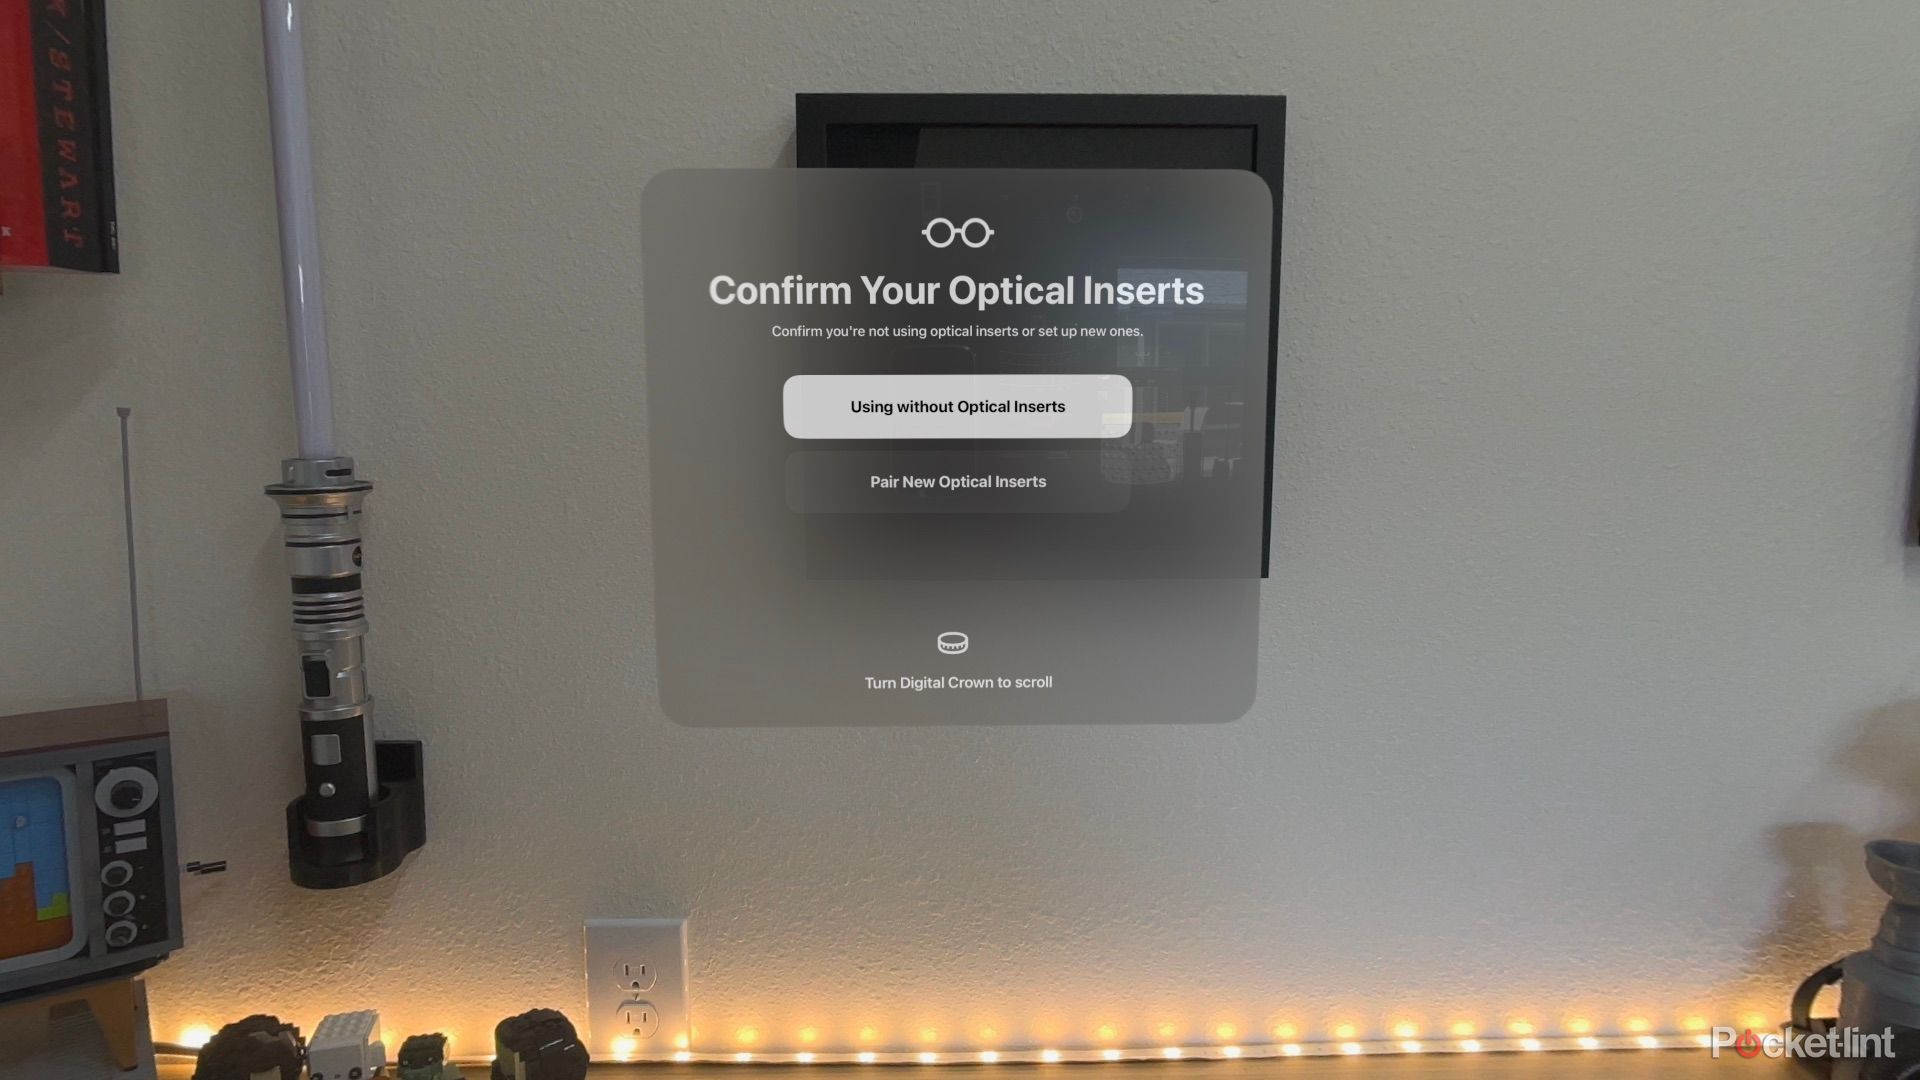
The quickest way to kickstart the process is to press the Top Button on the headset four times in a row. A window (seen above) will show up asking you to confirm your optical inserts — if you’re like me and you don’t have inserts, select the top option Using without Optical Inserts. Otherwise, select Pair New Optical Inserts.
Alternatively, you can ask Siri to start the process by saying “Siri/Hey Siri set up eyes.”
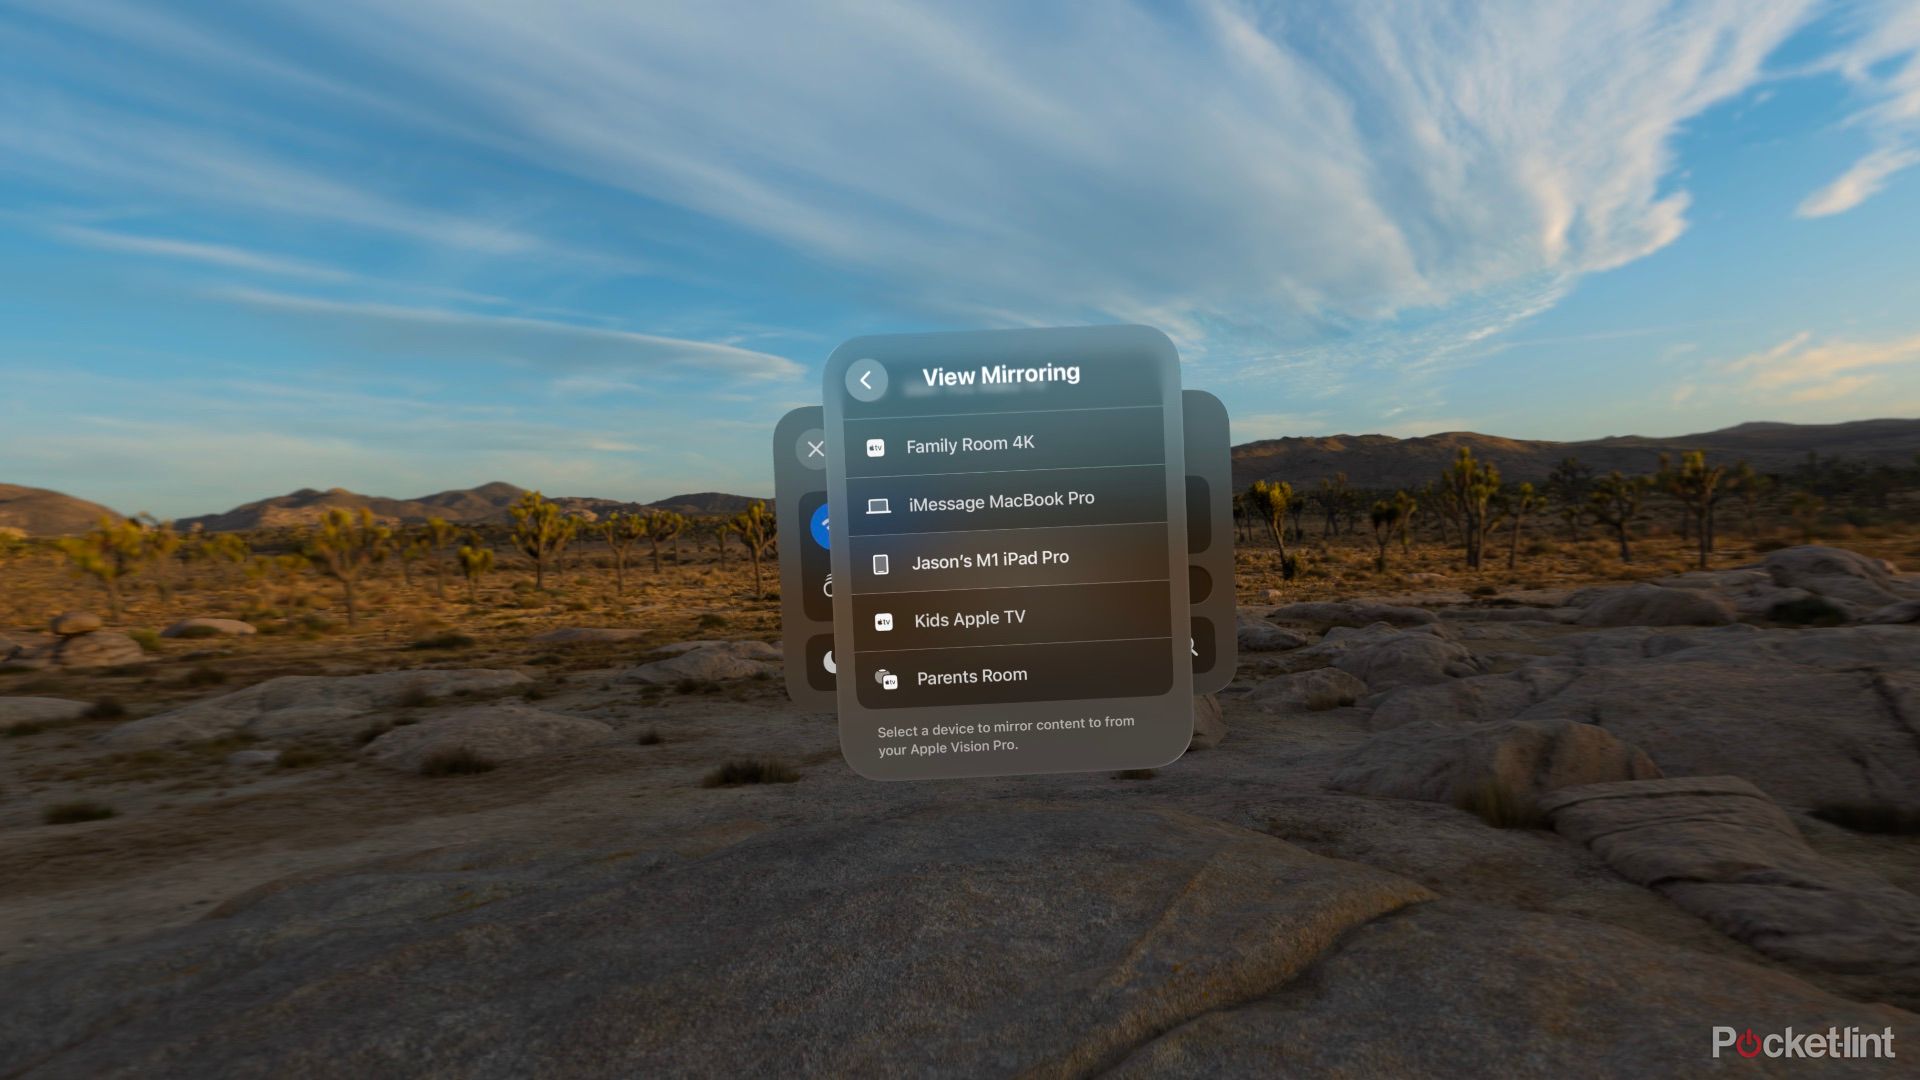
7 How to mirror your Apple Vision Pro to an iPhone, Mac, and Apple TV
Sharing what you can see is easy
One of the worst, or perhaps best, depending on your perspective, aspects of using Vision Pro is that no one else can see what you’re looking at. Just now, while writing this very article while wearing Apple’s headset, I had a window open, playing the Colorado Avalanche game. The Avs scored, and as I celebrated, my son ran into the room wanting to watch a replay. Except he couldn’t. And while this tip won’t help in that situation, it does show how private the Vision Pro experience is.
So, if you want to share the experience with someone, whether it be to assist them through a demo or to show off how downright cool the Vision Pro is, you can mirror your Vision Pro to another Apple device.
Mirroring your headset to an Apple TV doesn’t require any additional setup, but if you want to mirror the screen to your iPad or cast it to your Mac, you’ll need to take a couple of extra seconds to check your device’s settings.
-
On your Mac, go to
System Settings
>
General
>
AirDrop & Handoff
and then turn on
AirPlay Receiver. -
On an iPhone or iPad, go to
Settings
>
General
>
AirDrop & Handoff
and then turn on
AirPlay Receiver.
Now, to AirPlay your Vision Pro’s screen, look up at the circle with the down arrow, then select the Control Center icon, followed by the Mirror My View icon with two windows stacked atop each other, where you’ll then select the device you want to mirror your screen to.
8 How to force-quit apps on Apple Vision Pro
For problematic apps, or just to free up resources
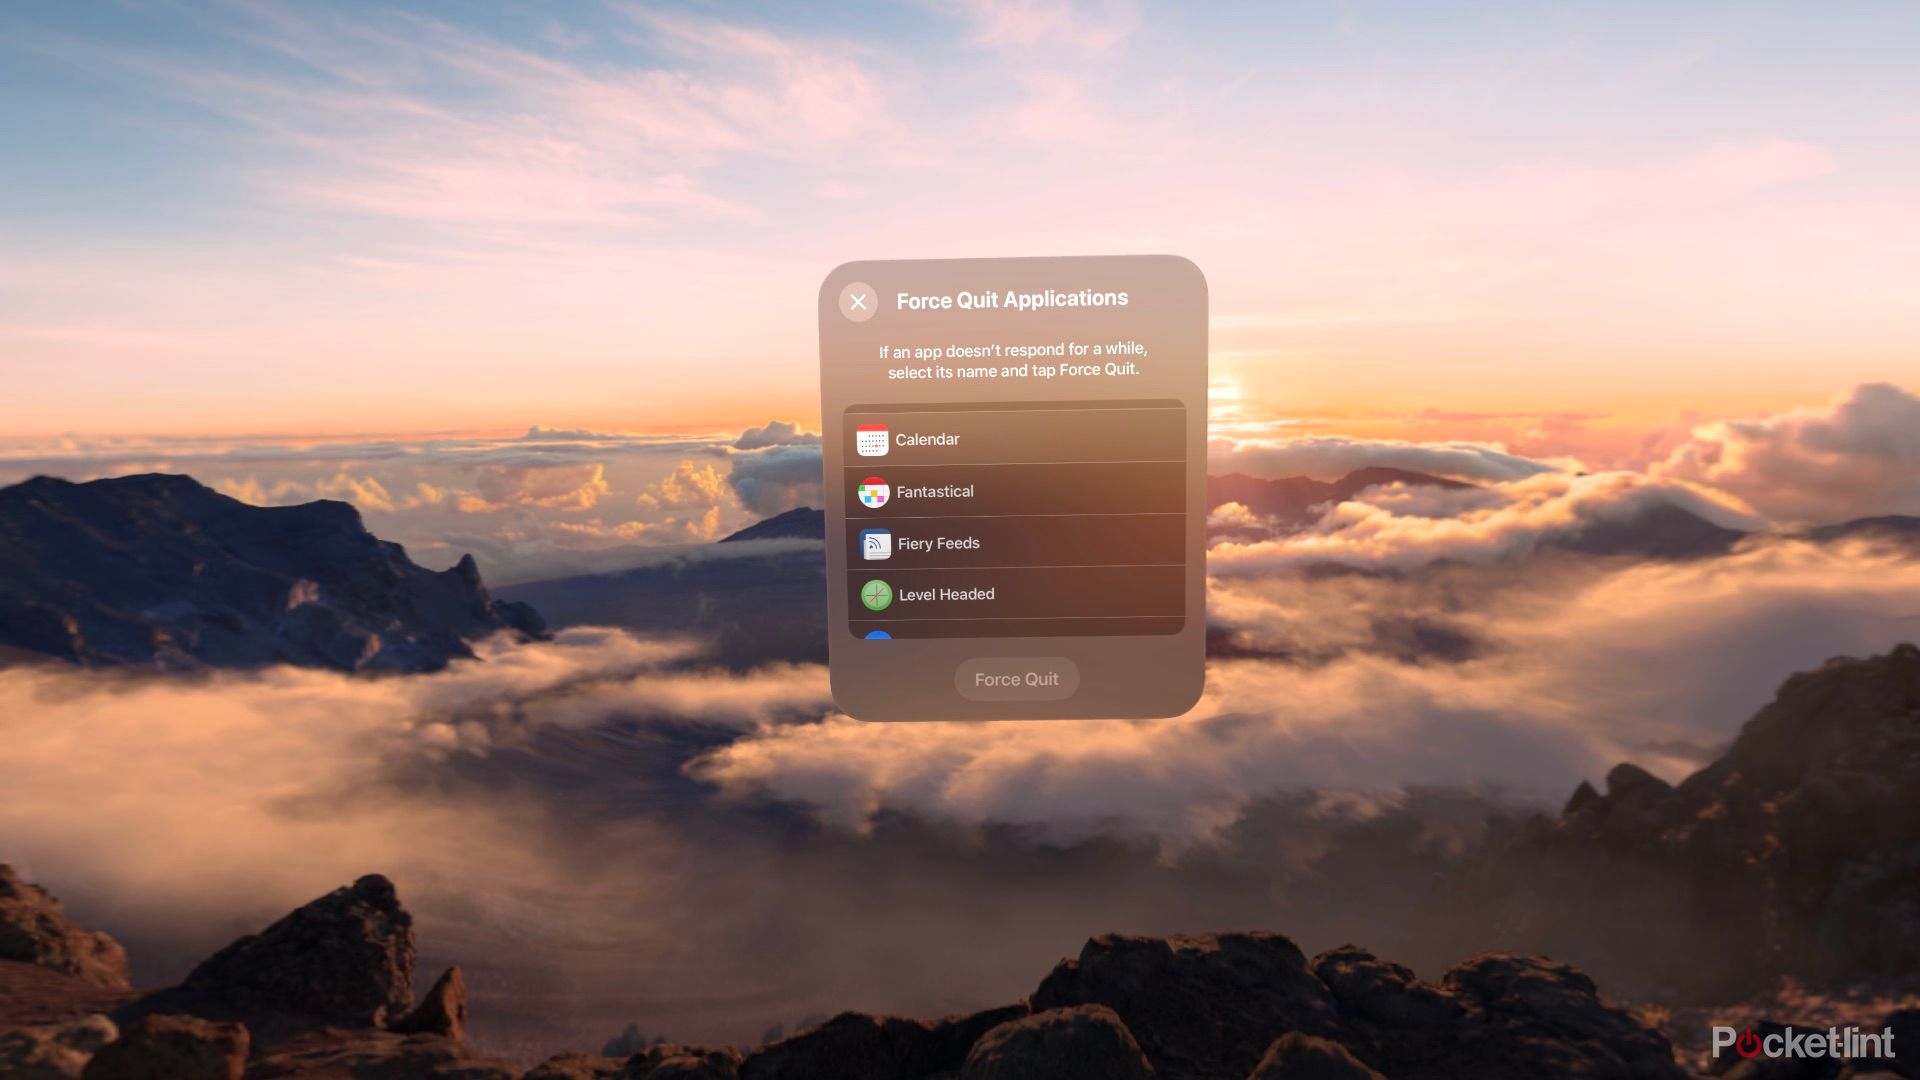
If you encounter an app that’s just not working right, or the headset’s performance feels sluggish, you can force quit any open apps. Hold down the Digital Crown and Top button for a few seconds, until you see the Force Quit window show up. You can scroll through the list of open apps, and you’ll likely be surprised to see the list is a lot longer than the apps you’re currently using. Select an app and then select the Force Quit button.
9 How to power off and force restart Apple Vision Pro
You don’t have to disconnect the power cable to turn off the headset
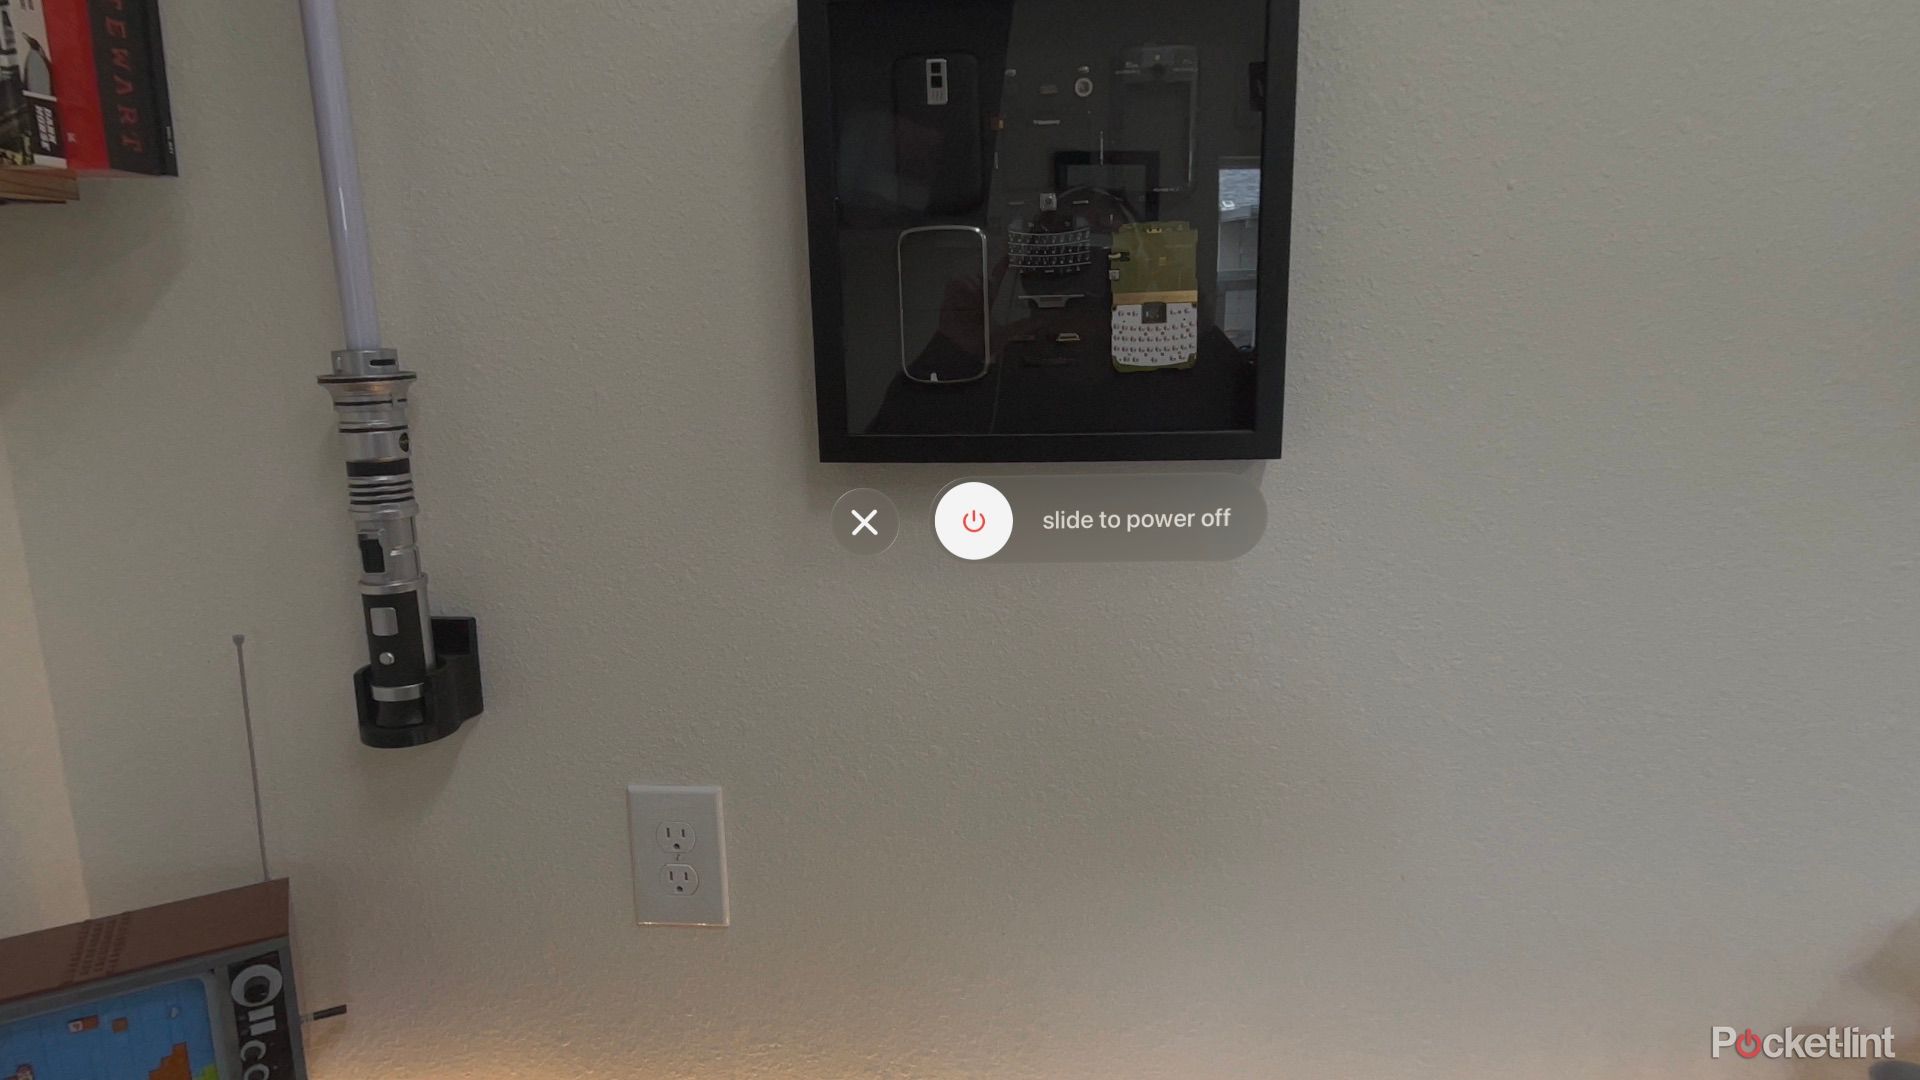
I rarely ever turn off the Apple Vision Pro, but when I do, I don’t do it by just disconnecting the power cable. Maybe I’m old school, but abruptly disconnecting power from a computer feels like it’d be problematic. So, instead, I turn off the Vision Pro using the built-in menu. To access said menu, hold the Top button and Digital Crown in until you see the power off slider, similar to what you’d see on an iPhone or iPad. Move the slider across, same as you would on other Apple devices, and then the Vision Pro’s screens will go dark.
If the Vision Pro is unresponsive, you can force restart it either by disconnecting the power, or by holding the Top button and Digital Crown in until you see the screen go black and the Apple logo appear.


